Welcome - Explore my Blog

I've been keeping this blog for all of my beekeeping years and I am beginning my 19th year of beekeeping in April 2024. Now there are more than 1300 posts on this blog. Please use the search bar below to search the blog for other posts on a subject in which you are interested. You can also click on the "label" at the end of a post and all posts with that label will show up. At the very bottom of this page is a list of all the labels I've used.

Even if you find one post on the subject, I've posted a lot on basic beekeeping skills like installing bees, harvesting honey, inspecting the hive, etc. so be sure to search for more once you've found a topic of interest to you. And watch the useful videos and slide shows on the sidebar. All of them have captions. Please share posts of interest via Facebook, Pinterest, etc.

I began this blog to chronicle my beekeeping experiences. I have read lots of beekeeping books, but nothing takes the place of either hands-on experience with an experienced beekeeper or good pictures of the process. I want people to have a clearer picture of what to expect in their beekeeping so I post pictures and write about my beekeeping saga here.Master Beekeeper Enjoy with me as I learn and grow as a beekeeper.

Need help with an Atlanta area swarm? Visit Found a Swarm? Call a Beekeeper. ‪(404) 482-1848‬

Want to Pin this post?

Wednesday, June 30, 2010

A Bee Movie with Gina and Linda

Every year the Metro Atlanta Beekeepers Association holds a short course in January. We are always trying to improve the course. This year we are adding a movie on how to harvest honey two ways - extracting (Gina) and crush and strain (me). We are so lucky that we have in our club a beekeeper named Allen Facemire who is an Emmy-nominated film-maker and director. He offered to make a movie for us about extracting.

Here is Gina getting all miked-up before the filming begins.


Allen comes with amazing equipment - microphones, cameras, and lots and lots of expertise!


The first part of the movie is to film taking honey off of the hive without using any chemicals like Bee Quik or Bee Go. As followers of this blog know, I don't advocate the use of any poisons, so I just shake the bees off and carry the frames away from the hive.


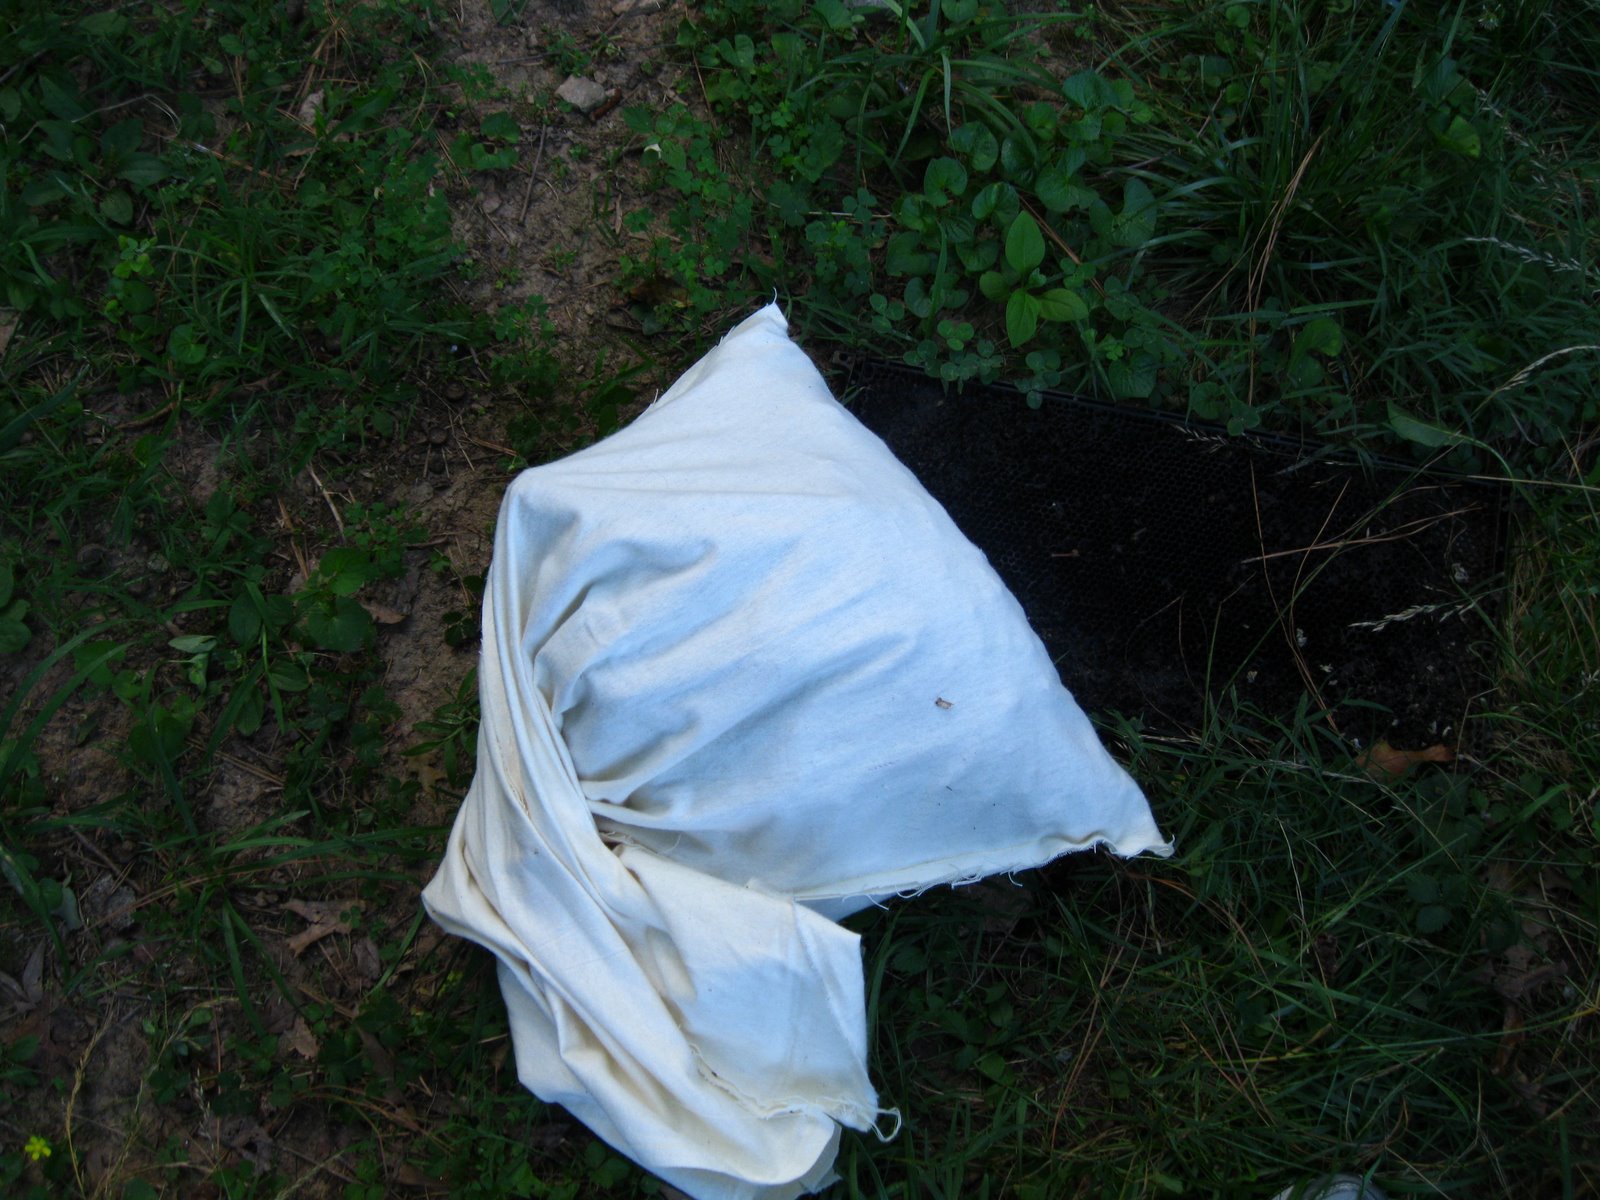
Allen is filming me putting the harvested frames into a nuc box to carry inside. The nuc is at my feet covered with a towel to keep interested bees from exploring the honey I am harvesting.


We took two frames in from Gina's hives.  I had brought three frames of my honey from home.  Here is one of the frames before a hard shake to get the bees off.


This is our last snapshot.  We then got deeply involved in the bee movie.  Gina showed how to use an extractor and then I did crush and strain.  We bottled a couple of bottles of honey.  I thought my honey was awfully thin.

I took my honey bucket home to bottle the rest.  I kept thinking the honey was really thin.  I decided to put a drop on the refractometer.  This was fully capped honey and I have not been feeding my bees sugar syrup this entire season.  To my horror, the moisture level was 20.2.  Honey is too moist above 18.6 so this was honey with way too much moisture.

I've always relied on taking fully capped honey, believing that the bees don't cap honey that is so moist that it will ferment.  Well, not so this time.  I called Cindy Bee who told me to put the bucket with a dehumidifier and maybe it could be de-moisturized enough.  I posted on Beemaster to find out what people thought was behind this.  One theory was that we are in a heavily humid area and maybe the bees just quit before they evaporated the moisture because it has been humid and rainy.  Who knows?

Maybe I should make mead.......that way the inevitable fermenting is invited!
Posted by Picasa


Tuesday, June 29, 2010

A Bee By-Product

This is not going to be my year for honey. The honey I harvested for the movie on honey harvest that Gina and I made on Sunday was very thin. I was worried about how runny it was - it was all from fully capped frames - so I put a drop in my refractometer. I didn't like what I read on the refractometer so I tried another drop and another and another. All read the same: 20.2. Honey with a higher percentage of moisture than 18.6 is likely to ferment and is substandard honey (to quote Cindy Bee). So I am without a good crop since that was my only possible box to harvest.

Cindy and the people on the Beemaster forum suggested that I put it with the dehumidifier and maybe that would dry it out some. I am not optimistic although it has been on top of the dehumidifier all day.

Of course, maybe I'll learn to make mead and use this thin honey for a new project!

The gift the bees have given me this year is a lot of cucumbers. The cucumbers in my garden are all gorgeous and perfectly straight. None of those poorly pollinated crooked cucumbers are to be found in my garden with these great bees around.


So tonight for the second time this June, I made pickles.  I made a second recipe of sweet pickle relish because it's so great to have around when you want to make tuna salad.  I also made four pints of bread and butter pickles.


Even though I will probably go honey-less this year, I will thank my bees each time I eat tuna salad!
Posted by Picasa

Interesting Blue Heron Inspection June 26, 2010

My friend Gina and I were making a movie for the short course about harvesting honey so I was late to the inspection which was in full swing when I arrived. Julia's first hive was reported to be doing fine. The second hive is one from a Jennifer Berry nuc that lost their queen right at the beginning. We gave them a frame of brood and eggs and they have made their own queen.

Julia's newly queened hive is boiling over with bees and small hive beetles (more bees than beetles, thankfully, but there were tons of beetles in a clump when she opened the hive cover). Julia does a great job of explaining the frames to the watching beekeepers from Metro Atlanta Beekeepers club.


There are a lot of bees in this hive - the queen has been hard at work. Julia is looking to find her, if she can.


She was spotted on this frame. Can you find her?


In case you couldn't find her, I've marked her in a red circle. Our queens in two of these hives are not "marked" since the bees made her themselves.  In the full frame picture, she's at about 11:00.  In this one she had moved more to the top of the frame.


You can see the comb stuck to the side of the box in the picture below.  There was one whole frame in which the bees had secured the comb to the box itself.  We pulled some honey filled comb and are brushing the bees off of it in this picture.  Julia threw it into a bucket and took it home to harvest.  Then the rest of the comb we rubber banded into a frame and put it back in the hive - there was brood in it and we wanted to help the bees salvage the mess.  (Thanks to Jay P for this photo).


Then we opened my Blue Heron hive.  The girls have only built comb in about 1/3 of each frame in half of the top box.  We have no nectar flow in Atlanta, and I think they got a late start since they didn't have a queen for about a month.  However, given the smaller numbers of bees and the lack of building in the top box, I was worried that this hive was again queenless.

The goal of the inspection became to determine if there were a queen.  So I opened the bottom box and began checking the frames.

After finding two pretty much empty frames of comb, I found frames with beautiful brood patterns.  To my surprise I lifted up the frame below.  When this hive was queenless, I brought a frame of brood and eggs from my home hives.  This was the frame from which they made a queen.  All of my boxes at home are medium boxes so this was a medium frame.

I never removed it from the hive and they made use of the empty space below the frame.


In spite of the odd configuration, you can see examples of honey storage around the upper corners, pollen storage just next to the brood, some drone brood in the lower left of the photo, larvae about to be capped, and capped worker brood in the picture above.  AND there's a queen cup on the bottom of the medium frame to the right of center as we look at the frame. A laboratory for learning about the bees in this one frame!

Thanks to Jay P for these two photos.

Posted by Picasa


Saturday, June 26, 2010

The Rabun County Bees are Hard at Work

Today was my first visit to the Rabun County bees since Memorial Day weekend. So many nice things have happened at the garden. They have the lovely sign below, designating the community garden as "The Old School Garden." The garden is located on an old school ground, thus the name.


As I walked back to the bee hive, I was struck by the lush garden. I didn't take a picture of it as a whole (wish I had), but here are some cucumbers that I am sure the bees are enjoying pollinating!


Then to my surprise in front of the bee yard, they have erected this bright orange caution sign. What a hoot - I love it!


The bees were doing well. I installed them as a 2 pound package from Don Kuchenmeister (fatbeeman) on April 24 2010. By Memorial Day weekend, it was clear that they were doing well, but they had only used about 6 frames of the bottom box. Now they have completely filled the bottom box with drawn frames, brood, pollen and honey. They are into the second box where they have built out a little over 1/3 of the box, all on the right side.

They have beautiful mostly uncapped honey.


The sourwood is in full bloom all over the county and the bees are drawing wax and filling it, trying to take advantage of the flow.  (After posting this, I looked more closely at the comb below which is full of eggs(!) not sourwood honey).


I was also pleased to pull the second frame from the bottom box and see lots of eggs and brood. This is a good queen and a good hive.  Click on the picture to see a larger view of the eggs in the center bottom of the frame.


Posted by Picasa

Friday, June 25, 2010

The Master Gardener Hour on Radio Sandy Springs


I was invited to join Master Gardener Rena Sartain on her radio show, The Master Gardener Hour, broadcast by Radio Sandy Springs. We had such a good time talking about bees that she invited me back for a second hour. So our conversations about bees and beekeeping will be on the radio on Saturday, June 26 at 11 AM EDT and a second hour the following Saturday, July 3 at 11 AM EDT.

I believe it will also be archived so that you can listen to it even if you are not up and going at 11 EDT on either of those Saturdays. To find the archived show, go to this page and scroll down to the bottom of the page. There you can click on one of the two dates (6/26 or 7/3) to hear the archived conversation between Rena and me.

We talked about bees, beekeeping, bee pests, what it takes to get started, and many other bee topics. I had fun and I hope if you listen, you will as well.

Just to reinforce what I said about my cucumbers on the radio show, here's a picture of one day's harvest (notice how straight all the cucumbers are).


Posted by Picasa

Thursday, June 24, 2010

Using the Solar Wax Melter

Large combs like the brood combs I rendered in the stew pot can't be easily put in my solar wax melter. The solar wax melter works best with clumps of wax from a honey harvest that is tender and malleable. The wax that I rendered is discolored, not tender, and doesn't smell sweet like wax from a harvest.

I took the cylinder of wax and broke it up today to melt in the solar wax melter. I thought it would filter more of the impurities out than the flannel pillow case did. I ended up with two stacks of wax pieces and put them in my two solar wax melter styrofoam boxes.


I set the two solar wax melters on my front walk in the full sun and left for work.


This is the wax under the glass, stacked to melt and filter through the paper towel.


At the end of the day, the slum gum was burned into the paper towel filter and wax was floating on the water's surface in the Tupperware container.


Removing the paper towel, I found cleaner wax that was still darker than the wax cappings that I usually use or the honey-filled honey comb that I use after harvest.


Here's the wax popped out of the Tupperware.  The sad part is that it doesn't smell nice like most of my solar wax melted wax does.  However, I have a horrible summer cold, so maybe I'm just not smelling as well as usual.


It bleaches out a little every time it is in the solar wax melter and in addition, more impurities will filter out.  I'm inclined to put these pieces back in the solar wax melter tomorrow.


After a second trip through the solar wax melter, the wax isn't much lighter, so I'll probably stop fooling with it.  This is now a disk about an inch thick, including both of the other wax pieces from yesterday's melting.

The peeled wax pieces at the upper left are the result of wax melting and dripping off of the paper towel filter onto the aluminum foil below.  In addition to helping with the interior heat, the aluminum foil offers an easy way to peel up wax that does this.

I haven't rendered wax from brood combs before.  I imagine it is always darker in the end than wax from a crush and strain honey harvest.

Posted by Picasa


Rendering wax from old comb

In the Appalachian mountains, people would say that they learned to use every part of the hog except the squeal. I would like to make the most use of my bees - I love their honey and the wax they produce is amazing. Watching them produce the wax from the glands on their thorax and watching them connect with each other with the wax as they work to build comb makes me really respect what goes into the product.

We are all being taught that old wax is a source of disease and is not good for the bees to reuse year after year. I believe the current thought is that all brood comb should be changed out every three years. In addition, when you lose a hive and the small hive beetles take over (two hives for me this year), the slime on the comb makes it unusable and unattractive to bees.

Consequently I have a lot of old comb that needs to be addressed. I could throw it out but I want to respect the work that the bees put into it. In addition, if I get wax, there's lots I like to do with it in making lotion and lip balm. So I want to try to recover usable wax from these old combs.

I don't have the huge turkey fryer that Cindy Bee uses, nor do I have a propane tank, but I do have this stew pot that everyone hates - it's not heavy enough to do the kind of job I want it to do in my kitchen, making gumbo or stewing a chicken, so it's now been relegated to the rendering pot. I have a single burner, designed for apartment dwellers, so I plugged it in in my carport, filled the stew pot with water and began heating.


Lesson for next time: Put really hot water in the pot to speed up the heating time.

Cindy says to get a 100% cotton flannel old pillow case from a flea market or thrift store. I didn't have that but did have some pale yellow 100% cotton flannel material that I bought at Hancock's. So I stitched up the sides and made a pillow case of sorts. I didn't have time to age the pillow case, however!


I filled the pillow case with old brood comb from the dead hive Julia and I rescued earlier in the season. The comb was wired and as I pulled out the wires, I could see the layers of cocoon casings that now lined the honey comb cells. You can see it too, if you click on the picture below to enlarge it.


When the bag was full, it included the blackened brood comb from a 10 frame deep super, slimed comb from a 10 frame shallow super, and a half bucket of old comb from the rescued hives.


I put the filled pillow case into the hot/heating water.

As the comb melted down, I twisted the pillow case to squeeze out the liquid wax, etc. as it melted.  Combs that have been slimed by the small hive beetle smell a little like Orange Crush and as this melted, that is the smell that emanated from the mixture.  The water turned dark, dark brown.


As the comb melted the slum gum inside the pillow case got smaller and smaller.


I didn't have a colander that would fit the stew pot, so I bought this grill skillet with large holes, just perfect for draining the liquid out of the pillow case.


However, the pillow case filled with slum gum did drip a little out of the pot when I put it in the grill skillet.  Later I scraped the hardened wax up off of the concrete carport floor and was grateful that it wasn't my kitchen floor!


I left it to drain all night.  The next morning the non-stick skillet was pretty clean and wax was floating on the surface of the nasty, nasty water.


Isn't the water gross?  And it still smelled like Orange Crush.


Here's the end product - a cylinder of wax about 1/2 inch thick.  This still has a way to go before being in a state in which I can use it for lip balm, etc.  I plan to break up this cylinder and melt it in the solar wax melter where it will get filtered yet again and bleached by the sun.


Posted by Picasa

Wednesday, June 23, 2010

St. John's Eve - the patron saint of beekeepers

Today my sweet friend, Stephanie, sent me this lovely nod to beekeepers.  On today's Writer's Almanac, Garrison Keillor declares that tonight is Midsummer's Eve or St. John's Eve, St. John being the patron saint of beekeepers!  Here's the link.  Be sure to listen to Wed. June 23 (which is the actual day it is when I am posting this.

Curious, I looked up more about St. John - in searching I found that St. Valentine as well as St. Ambrose are also known as patron saints of beekeepers - popular little insects, aren't they?  There's an old post on Beemaster that names Michael Bush as the patron saint of organic beekeepers!  Bees are popular with a number of saints:  Saint Gobnait (St. Deborah) and Saint Bernard of Clairveaux.

So on Midsummer's Eve, let's hope some of my empty hives spend the night making honey!

Tuesday, June 22, 2010

Rendering Wax with Cindy Bee

At Young Harris Beekeeping Institute, I went to a demonstration by Cindy Bee on rendering wax. I wanted to see what she does because I now have a number of frames of slimed comb from the small hive beetle and I'd like to capture some wax from them.

Cindy puts gross old wax into an old flannel pillow case. She just pops the wax comb out of the frame and dumps it into the pillow case.


She then puts the full pillow case into this huge pan (it's for frying turkey originally). She has the water heated to boiling on a propane burner.


The wax quickly melts down and she uses this stick to help push it down and out.

The stick helps press the gross scum gum down into the bottom of the pillow case.


Then she lifts the pillow case out of the water and puts it into a colander of sorts that sits at the top of the pan and drains.


She wears gloves so as not to get burned and presses down on the solids in the bag.


Then she dumps the remains (the slum gum, as it is called) into a box and discards it.


She leaves the pot to cool and when all is said and done, she has a ring of wax.  It still needs more processing to be usable but at least some wax is recovered from useless frames or old comb.


I've bought some equipment - not as sturdy or sophisticated as this, but I'll report on my own wax rendering a la Cindy Bee in the next day or two.
Posted by Picasa

Pin this post

LinkWithin

Related Posts Plugin for WordPress, Blogger...