Welcome - Explore my Blog

I've been keeping this blog for all of my beekeeping years and I am beginning my 19th year of beekeeping in April 2024. Now there are more than 1300 posts on this blog. Please use the search bar below to search the blog for other posts on a subject in which you are interested. You can also click on the "label" at the end of a post and all posts with that label will show up. At the very bottom of this page is a list of all the labels I've used.

Even if you find one post on the subject, I've posted a lot on basic beekeeping skills like installing bees, harvesting honey, inspecting the hive, etc. so be sure to search for more once you've found a topic of interest to you. And watch the useful videos and slide shows on the sidebar. All of them have captions. Please share posts of interest via Facebook, Pinterest, etc.

I began this blog to chronicle my beekeeping experiences. I have read lots of beekeeping books, but nothing takes the place of either hands-on experience with an experienced beekeeper or good pictures of the process. I want people to have a clearer picture of what to expect in their beekeeping so I post pictures and write about my beekeeping saga here.Master Beekeeper Enjoy with me as I learn and grow as a beekeeper.

Need help with an Atlanta area swarm? Visit Found a Swarm? Call a Beekeeper. ‪(404) 482-1848‬

Want to Pin this post?

Sunday, October 29, 2006

Update on Honey Frames Above the Inner Cover


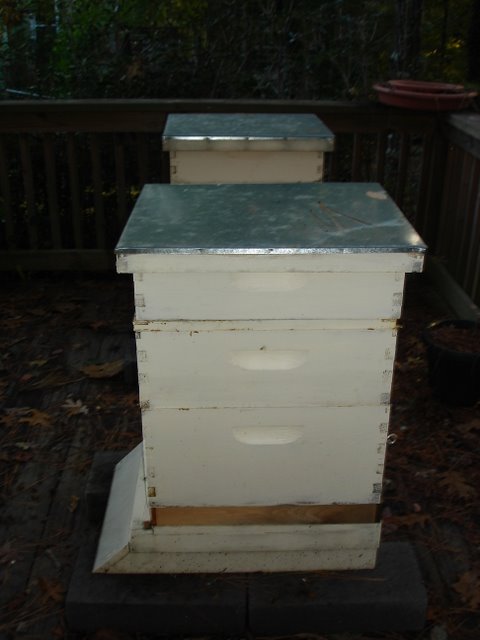
Well, the bees apparently aren't moving the honey in the partially filled supers above the inner cover. The hope was that by putting the super above the inner cover, the bees would feel like bringing it into the hive itself for the winter and would empty out these partially filled frames.

Instead they are making more honey. It's not honey I can use because I'm sure it is based on the sugar in the powdered sugar shakes I've done recently.

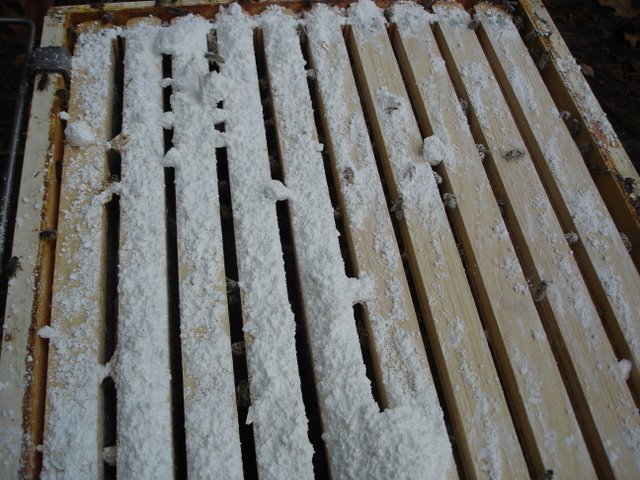
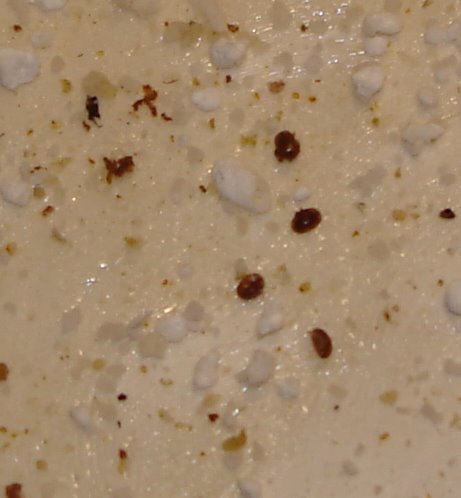
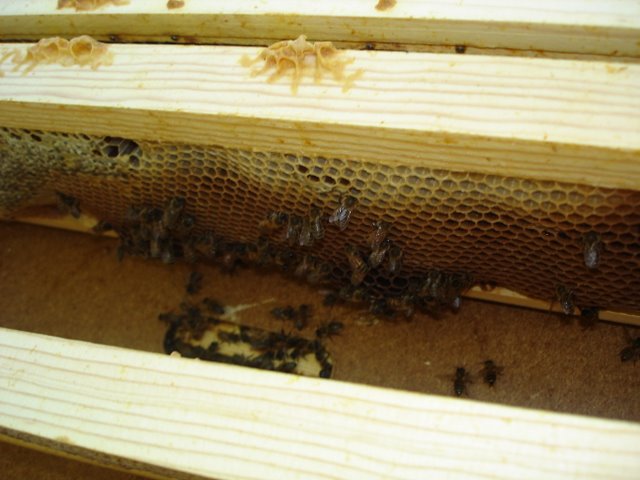
This first frame was the only one without honey (and it had partially filled honey before). Looks like they are storing pollen in it.

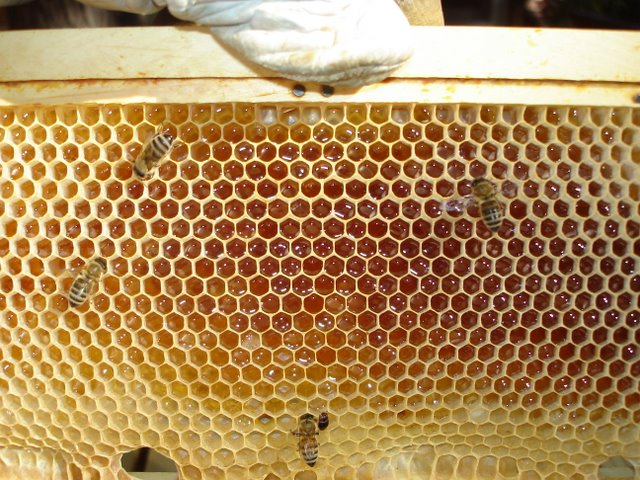
Here's a frame filled with glistening honey, which was typical of all the frames in both hives.

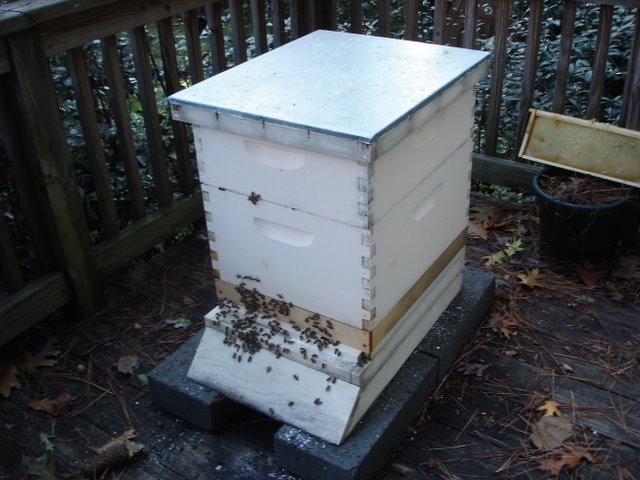
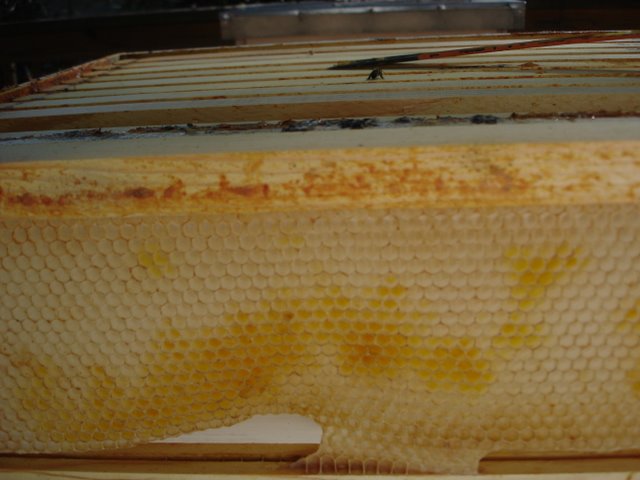
In the third picture, you can see the bees working on the frame above the inner cover and the bees coming up from the brood boxes below.


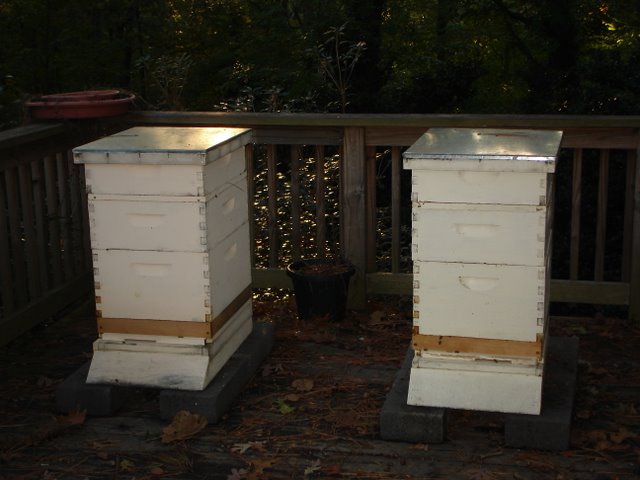
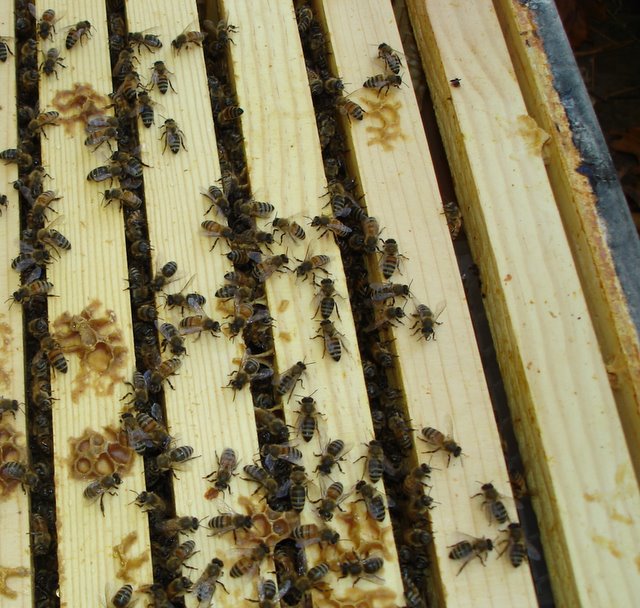
The good news is that both hives appeared to be thriving, with lots of busy bees. In Destin, I killed at least 40 SHBs - Funny, when I saw my first SHB, I couldn't make myself smash him. These I smashed with abandon. The vinegar trap in Destin had beetles dead in it as well.

In Bermuda, I didn't see a single live SHB, on the inner cover or anywhere in the hive except on the frame where the apple cider vinegar trap is located. There were dead beetles in the trap and SHBs wandering around on the comb the bees had built to fill the space on the side of the trap. Hopefully they will drown later on today!

Atlanta is a funny place, as far as temperature goes. Since October 20th our nights have been in the 30s and 40s and our days have not gone above 60 something. Today is our first 70 degree day. We are likely to have more days with high temps - I wonder how this affects the bees and this odd honey making in the super above the inner cover.

I'm going to leave it on a little longer and consult with the Beemasters to find out what they would recommend. I could harvest the honey and feed it back to the bees in January when it IS cold here.

Meanwhile this hobby brings more and more ways for me to spend money. I now need a new freezer in my basement to store the frames in over the winter to avoid the wax moth. Of course, I need to clean the basement and get rid of the old freezer first. If I end up with a clean basement, I'll owe the bees for inspiration!

Makes me tired just thinking about it.

I'm going back to the kitchen where I'm making apple butter today from delicious N. Georgia apples. Posted by Picasa

Sunday, October 22, 2006

Posted on Beemaster's about end of season frames

http://beemaster.com/beebbs/viewtopic.php?p=39056#39056

Here's a link to my questions on the Beemaster's forum about how to handle my frames at the end of the harvest.

When the honey is harvested, there is honey dripping from the cut comb areas. I put the frames back into the hives and the bees cleaned all of the honey off of the frames. I forgot and left one super on for about a month before taking it and the cleaned frames off. Meanwhile the bees had drawn wax out using the little bits of leftover wax as a foundation.

My question is whether or not I need to scrape the wax leavings off of the cleaned frames and start with new foundation or if the wax remainders will serve as foundation for next year. Michael Bush uses foundationless frames for his supers. We'll see what the forum members suggest and I'll keep you posted as well.

End of Season Partially Filled Honey Supers


As a new beekeeper, I've discovered a new challenge. My bees left two supers with partially filled frames, one on each hive. The frames have enough honey in them to provide nice winter feeding for the bees but with the onset of cooler nights and days, the bees aren't interested in finishing the filling and capping of these supers. (And there's not much out there for nectar gathering to do so.)

The Beemaster experts (Michael Bush in particular) suggested that putting the supers with the partially filled frames above the inner cover would help.

The idea is that the bees then think this honey is outside of the hive and they move it down into the bottom two hive bodies (below the inner cover) to add to their stores for the winter.

I opened the hives for a quick moment before leaving for the mountains this weekend and did just that. I put the supers with the partially filled frames above the inner cover. You can see this by noticing the inch board (the inner cover) between the super and the medium hive body. To help I've drawn red arrows on the last picture in this post pointing to the inner cover.

Later this week when I have an opportunity, I'll see if the bees are doing their job of moving the honey.

My next challenge, which I'll post to the Beemaster's forum and put pictures up on this site, is to learn how to clean or whether to clean the frames that I used for crush and strain honey bottling.

The good news: While in the mountains this weekend I found an old double boiler in good shape at a fun junk store called the Sassy Chicken. This should be perfect for melting my wax this year - next year it's the solar wax melter's job! Posted by Picasa

Wednesday, October 18, 2006

Another varroa sugar shake

I opened the hives today and did another powdered sugar shake. There were lots of dead SHBs (small hive beetles) in the apple cider traps. I emptied the traps and put in new apple cider.

There also were many SHBs in the hives. I couldn't see any damage to the comb, but I think it's only a matter of time. I squashed every one I saw in the inner cover - 12 - 15 on each hive.

The hives are in an odd place when it comes to honey. Destin is very heavy in the bottom medium and deep super. They are probably in good supply for the winter. They had a super on the hive that had very little honey in it. I left it on the hive so that I could keep the SHB trap there (it's placed in a shallow frame)

Next week I'll need to make a final decision about this super. Probably I'll feed the bees inside an empty super and keep the frame with the SHB trap in that super, but I may need to remove the frames from that super.....I'll need to get some advice from seasoned beekeeps to know what to do.


I took the final super off of Bermuda, but it wasn't as heavy with pollen and honey. I may need to feed those bees next week as well.

The fall is an odd beekeeping time. I don't know what to do with the partially filled super frames which are all shallows. Do I leave them on the hive for the bees? Do I take the honey from them and feed the bees in case there isn't enough in the way of stores in the medium and deep?

These are questions that I am reading up on and pondering in the discussion forum sites for the next couple of weeks. Meanwhile here is Bermuda in its diminshed state with only the deep and the medium super for the winter. Posted by Picasa

Wednesday, October 11, 2006

Solar Wax Melter needs Higher Temps

Sad to say, no pictures of beautifully melted wax.

My solar wax melter will work, I am assured by DuRant W., a seasoned beekeeper in the Metro Beekeepers Association. However, wax melts at about 145 degrees Farenheit and the temperature in Atlanta must go over 80 degrees for that to be achieved in the solar wax melter.

We have had lovely fall days in Atlanta recently, with cool nights and the daytime temperature in the low 70s. Consequently, my solar wax melter cannot get hot enough to melt the wax.

I've decided to do one of two things: wait until next summer in the Hotlanta temperatures to melt my wax, or look for a used double boiler in a second hand store and melt the wax that way.

What that really means is that I will probably not give friends beeswax candles for Christmas this year!

Monday, October 09, 2006

The Solar Wax Melter Goes to Work


Last night I left the wax defrosting on a paper towel-lined cookie sheet. This morning I piled wax on top of my paper towel covered Tupperware container. You can see that there is about a 2 inch depth of water in the bottom of the Tupperware.

I set the wax contraption down into the insulated box.

Next I put the glass top, with the edges protected with duct tape, on top of the box.

I set the whole thing on my front garden walk where there is direct sun for most of the day. As I look at the picture, I'm wondering if the melter would be more effective if I had also painted the inside of the box black....hmmmm.

We'll see what happens.

Posted by Picasa

Sunday, October 08, 2006

Building a solar wax melter


After harvesting all of my honey, I have a lot of wax. There are three gallon zip-loc bags in my freezer full of wax that has been washed but not melted. To use the wax, it needs to be melted into a solid, rather than the fragments I have now.

To start this process, I explored the Internet and found this pattern for a solar wax melter (2011 note: this link appears broken and I can not find the web page any longer).  Instead I'll post a screen shot from the GSU professor's website where I first saw it at the end of this post.

 I thought that a styrofoam box like fishermen use would be a perfect insulated box for melting my wax. I went to Home Depot and to Lowe's and neither carried a styrofoam box. Finally I found one at my neighborhood Ace Hardware - and it was on sale for $3.00.

Next I needed glass to fit the top. Although Home Depot no longer cuts glass, they carry precut window replacements, so I bought a piece of glass 12 X 16 inches - to fit the top of my styrofoam box. Cost: $3.50. I also bought a can of spray black paint, reasoning that it would be better for the box to be black to absorb the sun's heat rather than white to reflect it. Cost: $1.79

I already owned a tall Tupperware plastic container and some good paper towels as well as string to tie the paper towel to the Tupperware.

If I'm lucky and this works, I now have a solar wax melter for the cost of a little over $8.00. Since purchasing them is at least 4 times that, I feel lucky.


I put about 2 inches of water in the Tupperware container and fitted the paper towel over it, tying the string to hold it in place. I used duct tape to protect myself from the edges of the glass (and it makes a pretty good handle for lifting the glass.)

I took one gallon bag of the wax out of the freezer and opened it. I spread it on a cookie sheet, lined with paper towels to absorb any water that collects as it thaws. Tomorrow morning I'll put some of the wax pieces in my solar wax melter and leave it for the day while I go to work. I'll report back to let you know if this works. Posted by Picasa


Monday, October 02, 2006

The Varroa Mite - Up Close and Personal


After I did the sugar shake on Saturday afternoon, I cut two strips of poster board the size of the opening between the cinder blocks on which my hive rests. I smeared them with Vaseline and slid them under the SBB on the deck below the hives.

Here's how they looked when I pulled them out 24 hours later. The white stuff is powdered sugar. Also on the board you'll see pollen, some bee parts (a couple of legs) and our friendly Varroa mite.

I tried as hard as I could to take a good picture of the Varroa mite. My camera isn't good enough in close-up, but these two pictures are the best I have of the little creature. If you double click on the picture, it will open in its own window and you can see the little critter better. You'll see that he looks like a tick on a dog. Many of the ones on the board were moving and wiggling around.

I did the best count I could and found approximately 83 mites in the Destin hive sheet and 94 in the Bermuda sheet. It was hard to count. Next time I plan to mark a grid on the poster board to make the counting easier.

The Beemaster discussion board suggests a sugar shake like I did once every 10 days. That serves to keep up with the ongoing hatching and attaching of the new mites. I can't do it at that rate because I work and get home too late to do it during the week. My only open-the-hive time is on the weekends. My mentors on the forum suggested that for a while I do a once a week sugar shake.

I am convinced by this that I should start reducing my cell size next year if my hives survive the winter. Bees raised on smaller comb hatch quicker which lowers the possibility of the mites growing to adulthood in the larvae. I've read some about this on Michael Bush's wonderfully informative web site.

The people who determined the importance of this method of keeping bees are the Lusbys. Dee Lusby has given talks about this and written about it as well .

So I will be shaking sugar and my bees will be exceptionally clean until we stop all of this for winter and I hope my efforts will pay off with bees still alive next year. Posted by Picasa

Pin this post

LinkWithin

Related Posts Plugin for WordPress, Blogger...