
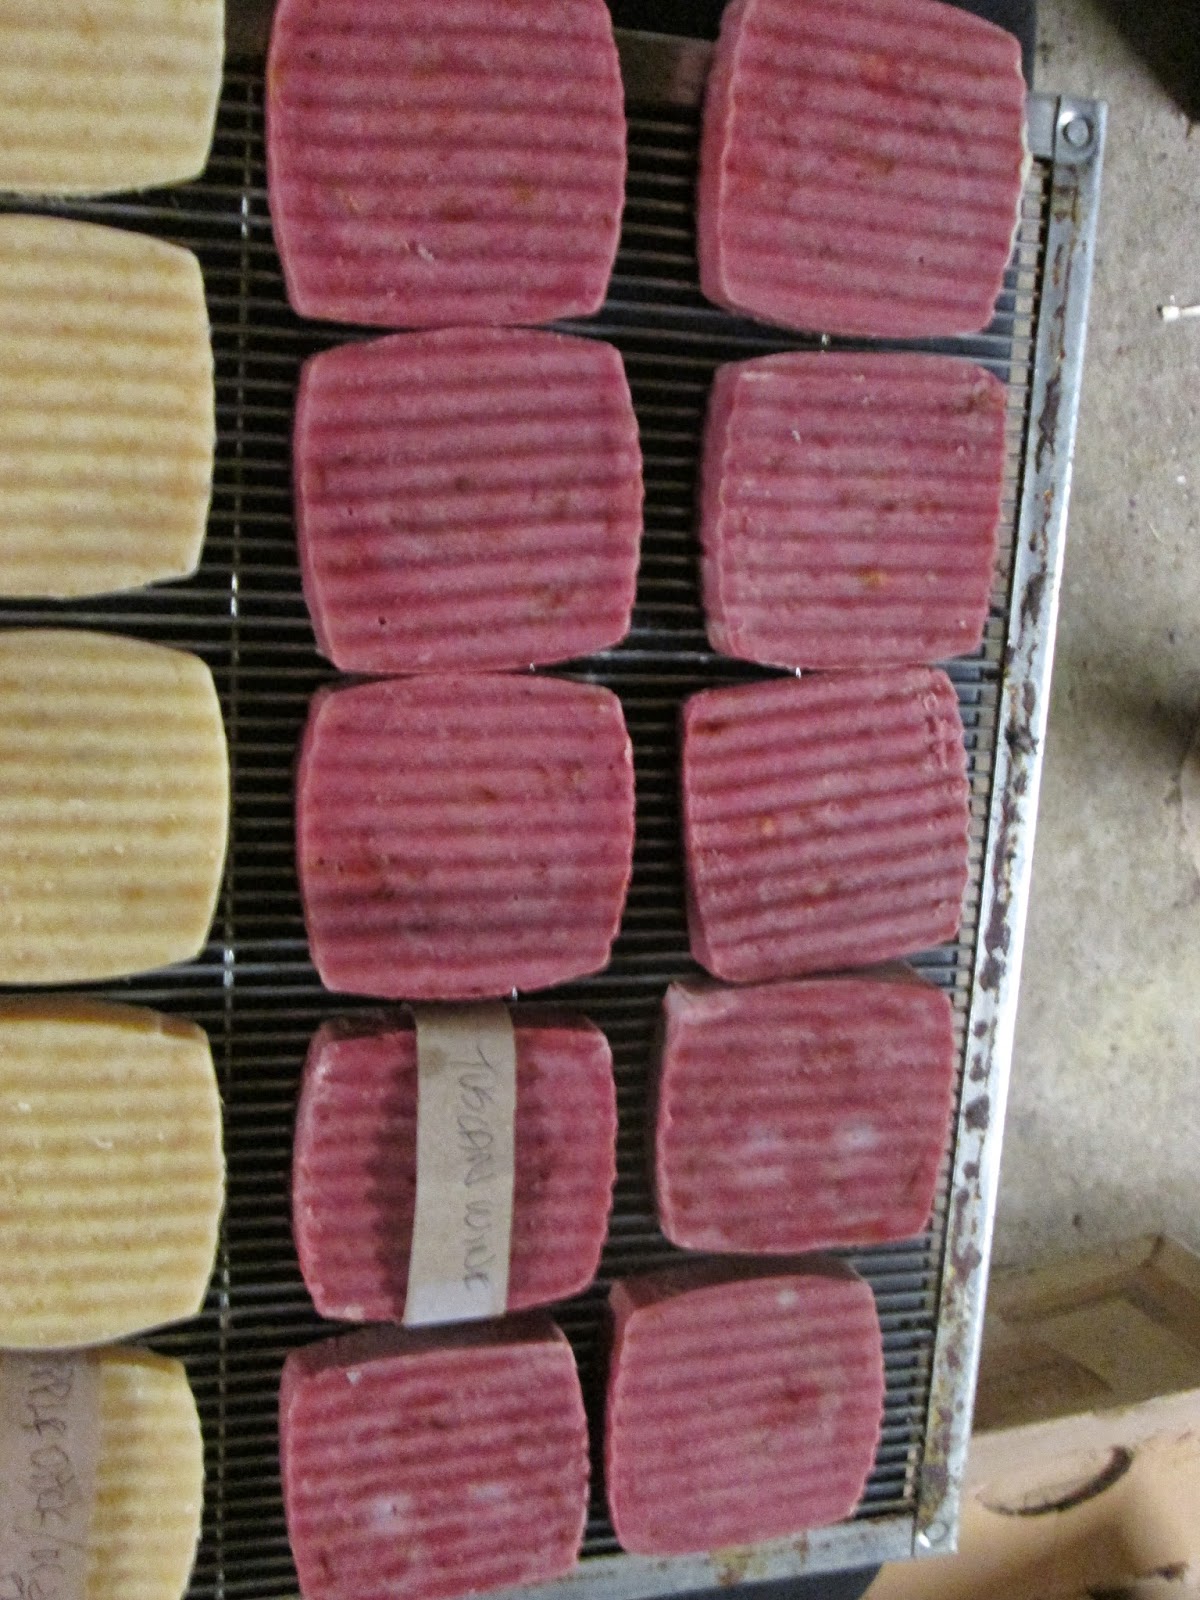
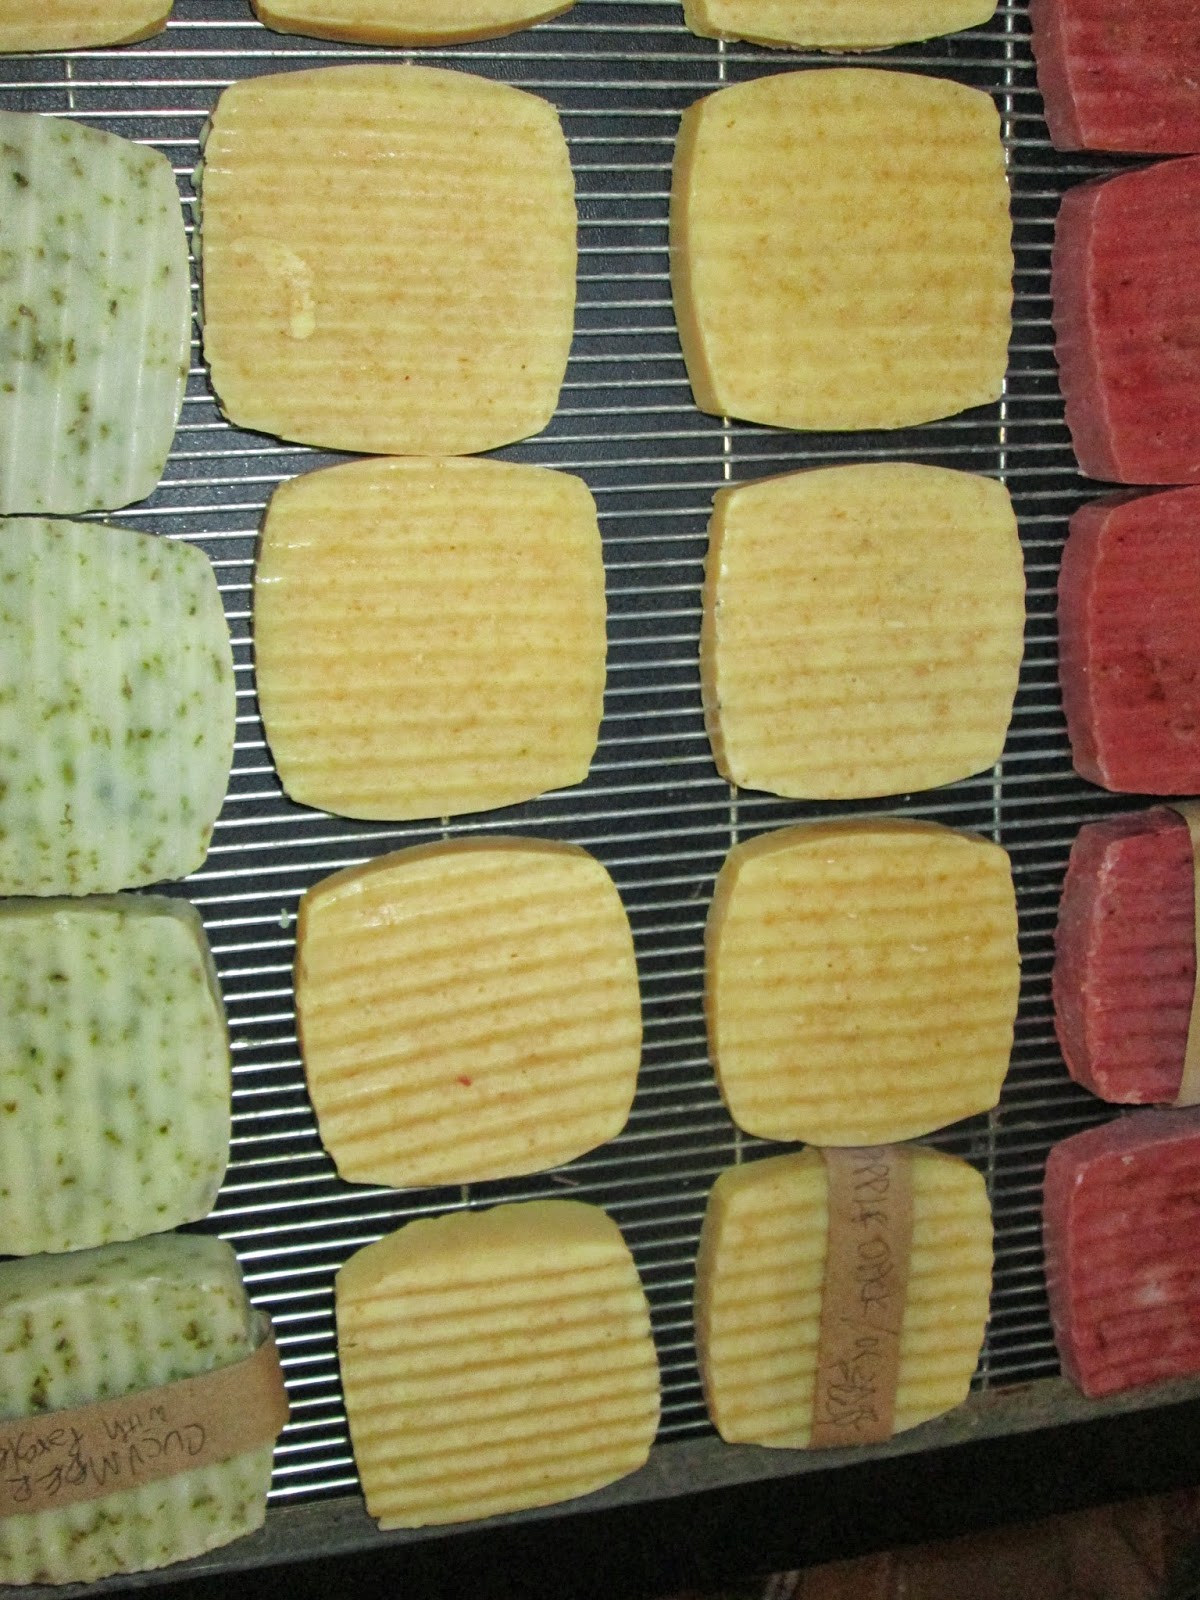
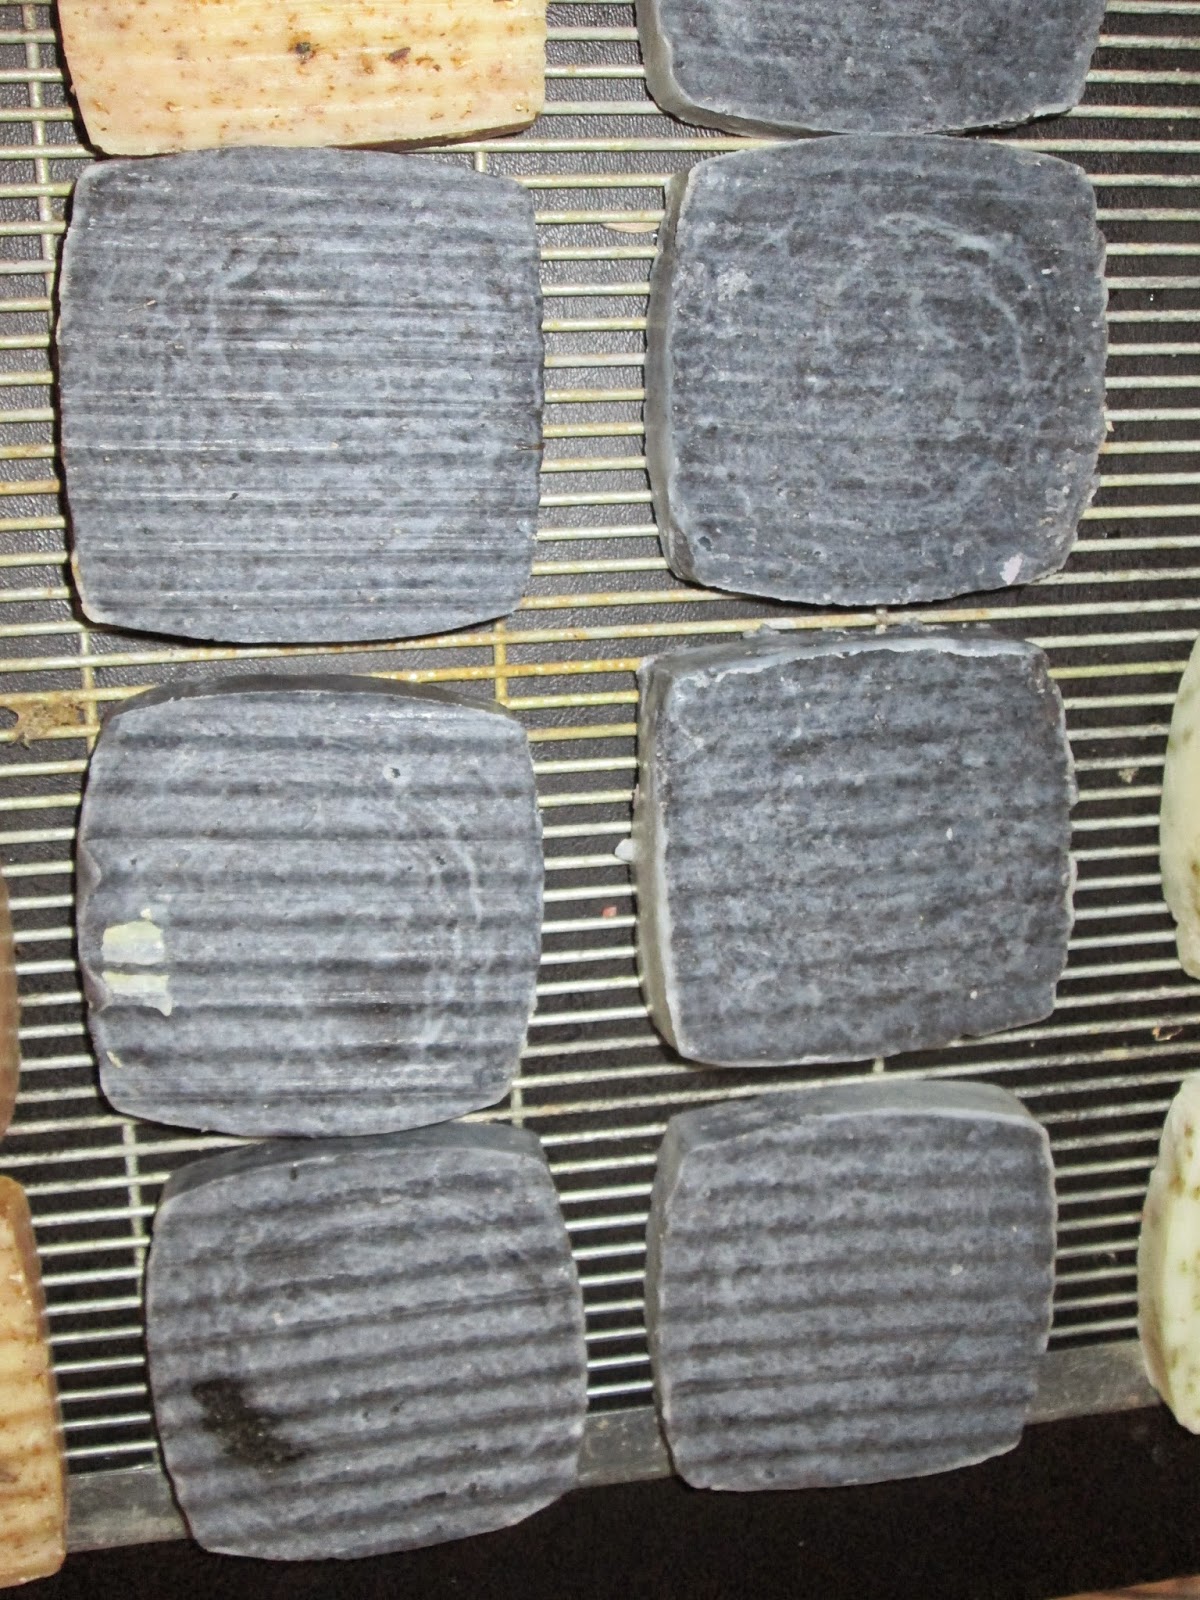
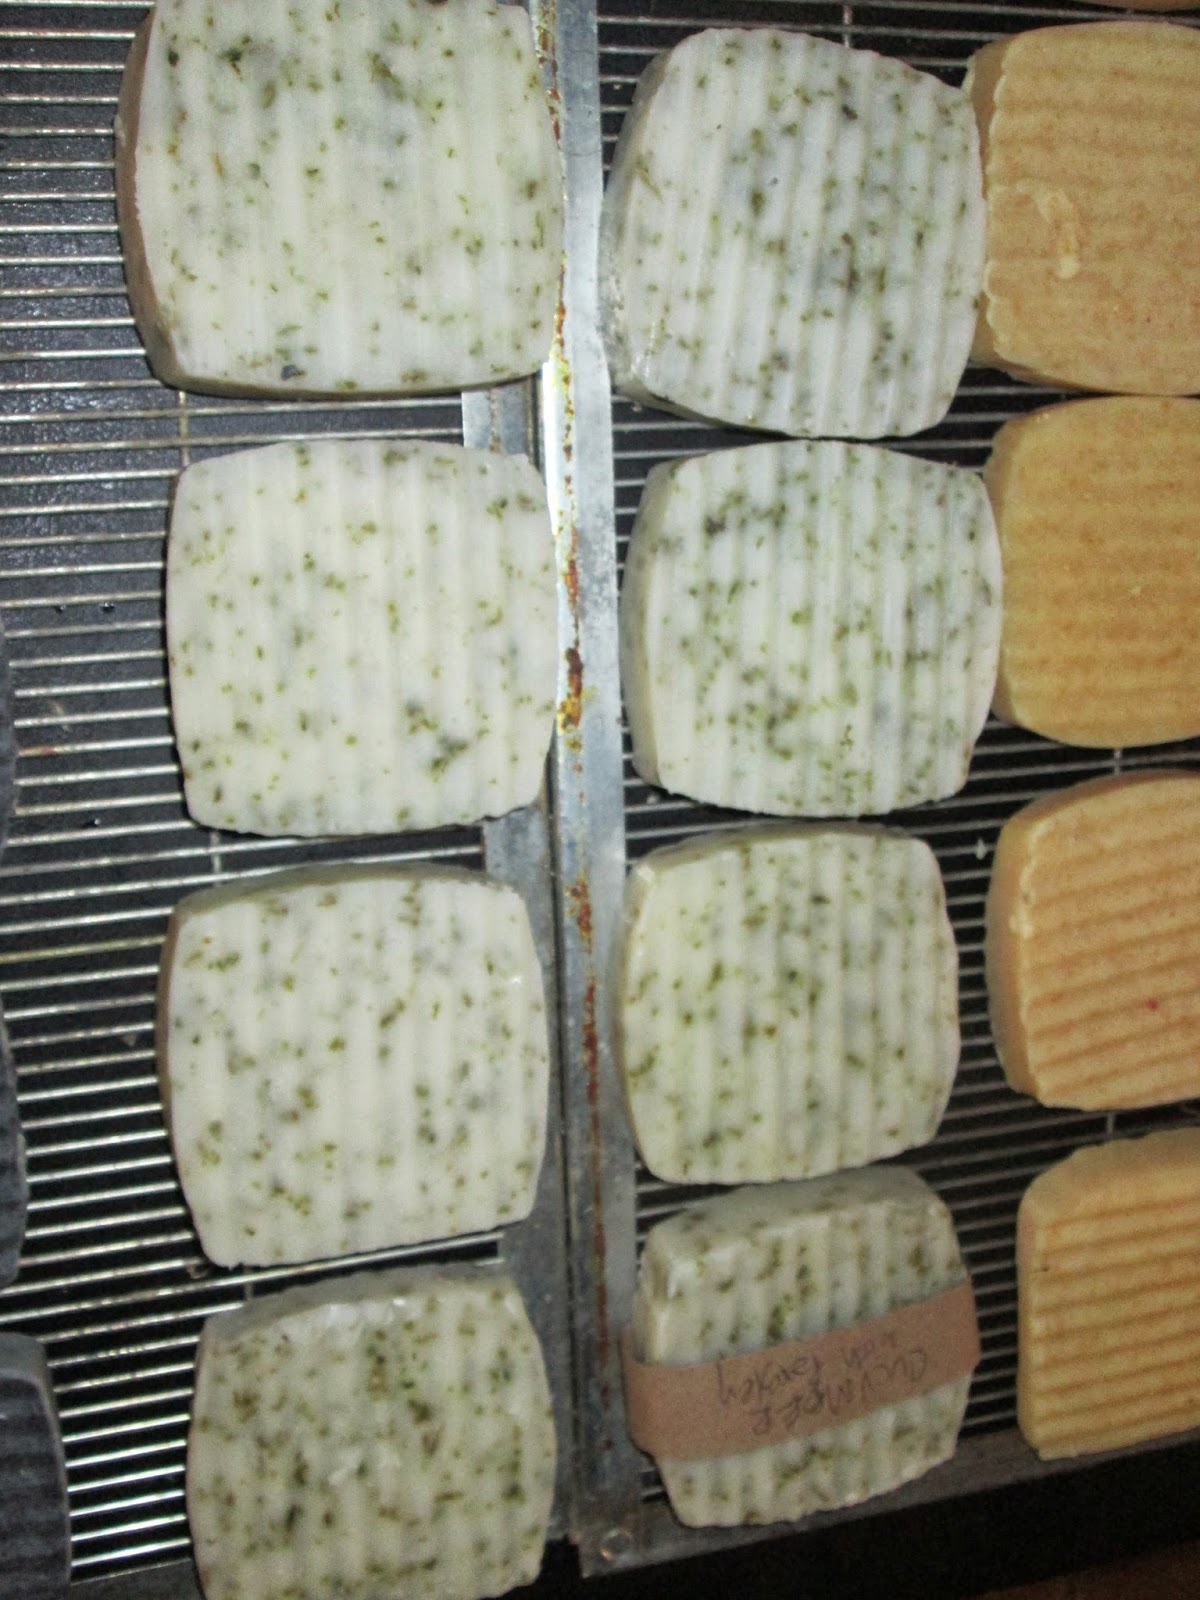
After a weekend at the Folk School taking a soap making class, I came home with all of this soap. It has to cure for a month.
You remember how I like to find uses for the queen excluders I bought when I first started beekeeping? On two occasions in ten years, I have put them on a hive for overnight to solve a problem. Other than that I use them for cut comb honey draining! Now I have found a new use: curing soap!
Soap has to sit for four to six weeks to cure before it is in its best shape for use and lather. You are supposed to turn the bars over occasionally. My basement smells lovely.
At the school, we learned how to protect ourselves against the danger of being burned by lye. We wore goggles, rubber gloves, long sleeves. We were very, very careful. Everything in making soap has to be measured in a precise way. Saponification (turning lye and fat into soap) is a chemical reaction and the ingredients have to be controlled exactly.
We carefully stirred the lye into cold water and then began to melt our precisely measured fats. By the time the fats had melted the lye would have cooled down. The teacher had fancy laser thermometers - I ordered one from Amazon the minute I got home. The lye and the melted fats plus olive oil had to end up with an average temperature of somewhere between 80 and 120 degrees before you could mix them together.
When the magic temperature was reached, the lye solution is gently poured into the fat/oil mix and you begin the thickening process. We used stick blenders and "trace" occurred rather quickly. "Trace" is the point in the process when you can see a line on the surface of the soap solution when you pull out the stick blender or make a circular drip with a rubber spatula on the surface of the soap solution. At that point, you can add fragrance or color.
I made six different quarts of soap. I think these were the types I made:
1. Tuscan wine soap with calendula - turned out red and smells divine - shea butter was in that
2. Apple jack and orange peel with cornmeal was next and I didn't use shea butter for it
3. Then I think I made a soap with dirt/smoke as the fragrance and I added both activated charcoal and cornmeal for texture. It turned out black and very masculine in smell
4. Cucumber with parsley flakes and ground up oatmeal
5. Vanilla soap with chamomile. This one was made with shea butter. The dark places are chamomile flower bits
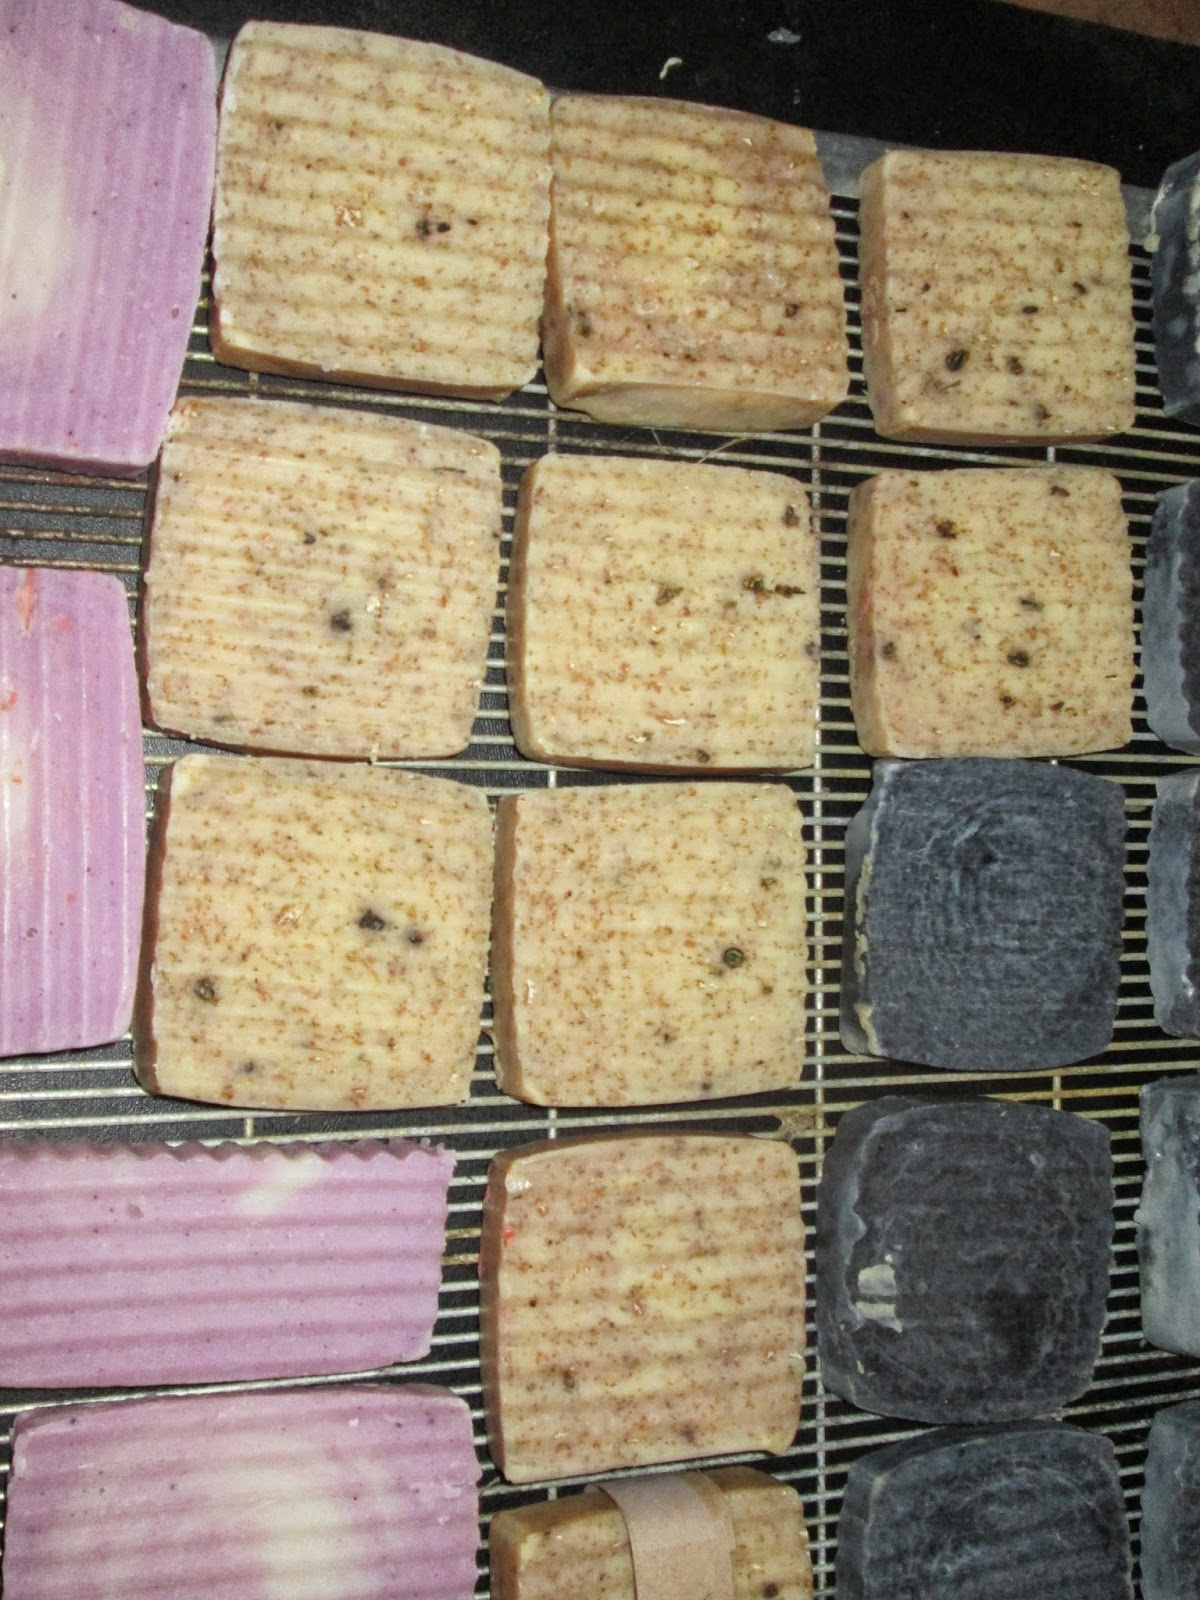
6. Lavender swirl soap with only lavender flavoring and no texture, I don't think. I did almost everything in a quart milk carton and the lavender I made in a half gallon carton. I tried the swirl technique and although it isn't the way it is supposed to look, I wasn't unhappy with how it turned out.

There's a slide show below (click on it to visit the Picasa web album page) where you can see the process and the teacher at work:


