In this inspection, my plan was to take a frame of bees from one of the strong hives and give it to the smaller nuc hive to help it build up its numbers. However, we found that the tall hive had a new queen who had not laid in the medium boxes - so we couldn't take a frame. However, we made an entrance reducer for the nuc hive out of wine corks. I'll try to visit that hive and take a frame of brood and eggs from my strongest hive at home to help the nuc hive build up.
Meanwhile, here's the inspection. There are instructions and video on how to make a solar wax melter from a styrofoam beer cooler (I first posted about this in 2006) at the end of the inspection movie.
Showing posts with label solar wax melter. Show all posts
Showing posts with label solar wax melter. Show all posts
Saturday, June 06, 2020
Tuesday, August 23, 2016
Crush and Strain Harvest When You Use Foundation
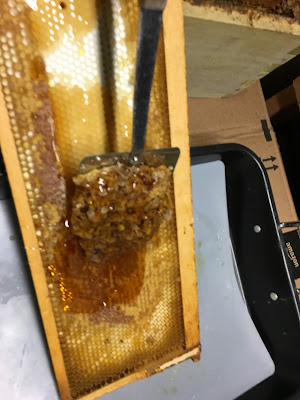
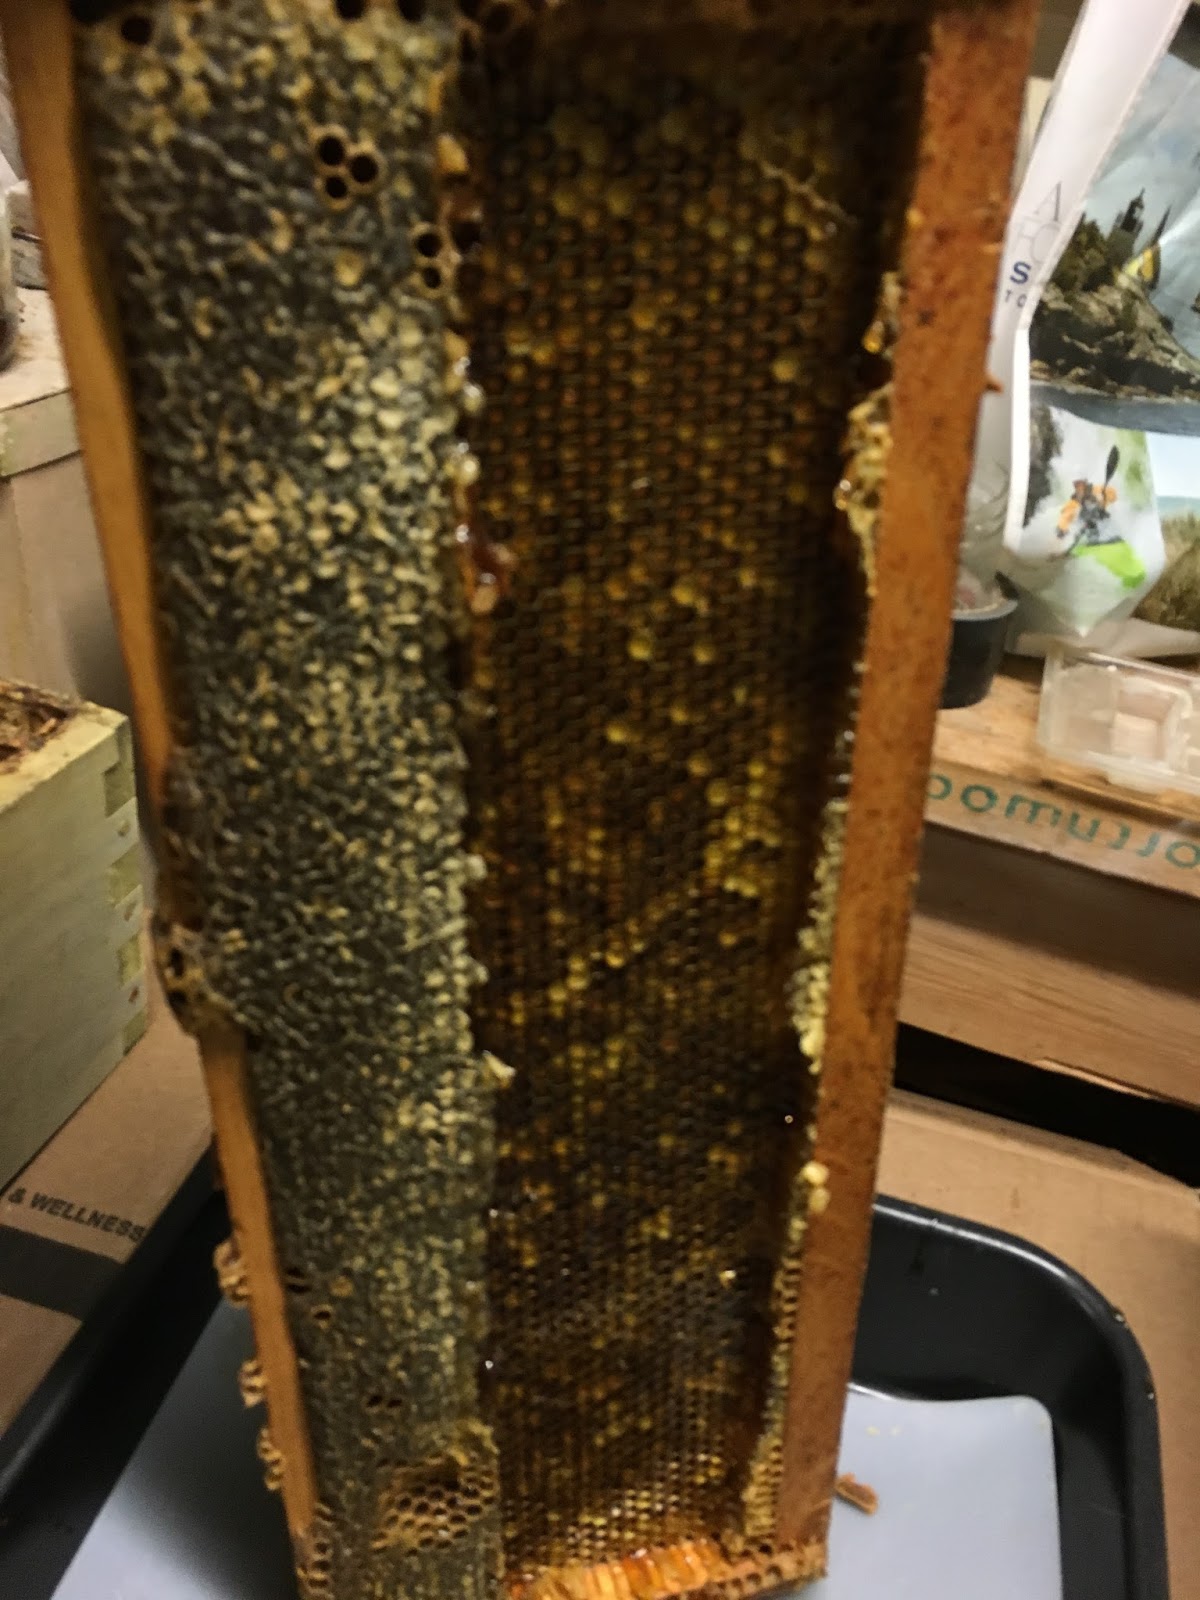
The bees where we poured the nematodes a week ago had honey to harvest. But the frames in the hive were put there by the previous owner and the frames all had plastic foundation. I haven't ever harvested from plastic before, but there's a first time for everything.
I harvested from them in mid-July and just haven't posted about it until now.
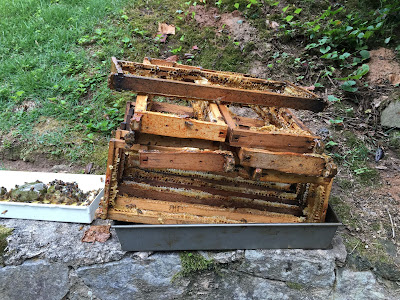
We took about two boxes worth of honey off of the two hives. We actually removed two boxes from each hive, but many of the frames were not used so we only harvested the excess, amounting to two boxes. I wanted to leave each hive with one full super in addition to whatever they have stored in the bottom brood box so that they have a good chance going into winter.
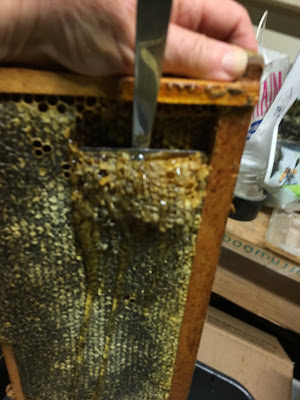
I brought the honey home and used a spatula to scrape the honey off of the plastic and into my crushing pan. This was the messiest harvest ever. And the frames were really drippy. I put the dripping frames into another roasting pan and will use the honey that dripped off of them to feed any bees who need feeding going into winter.
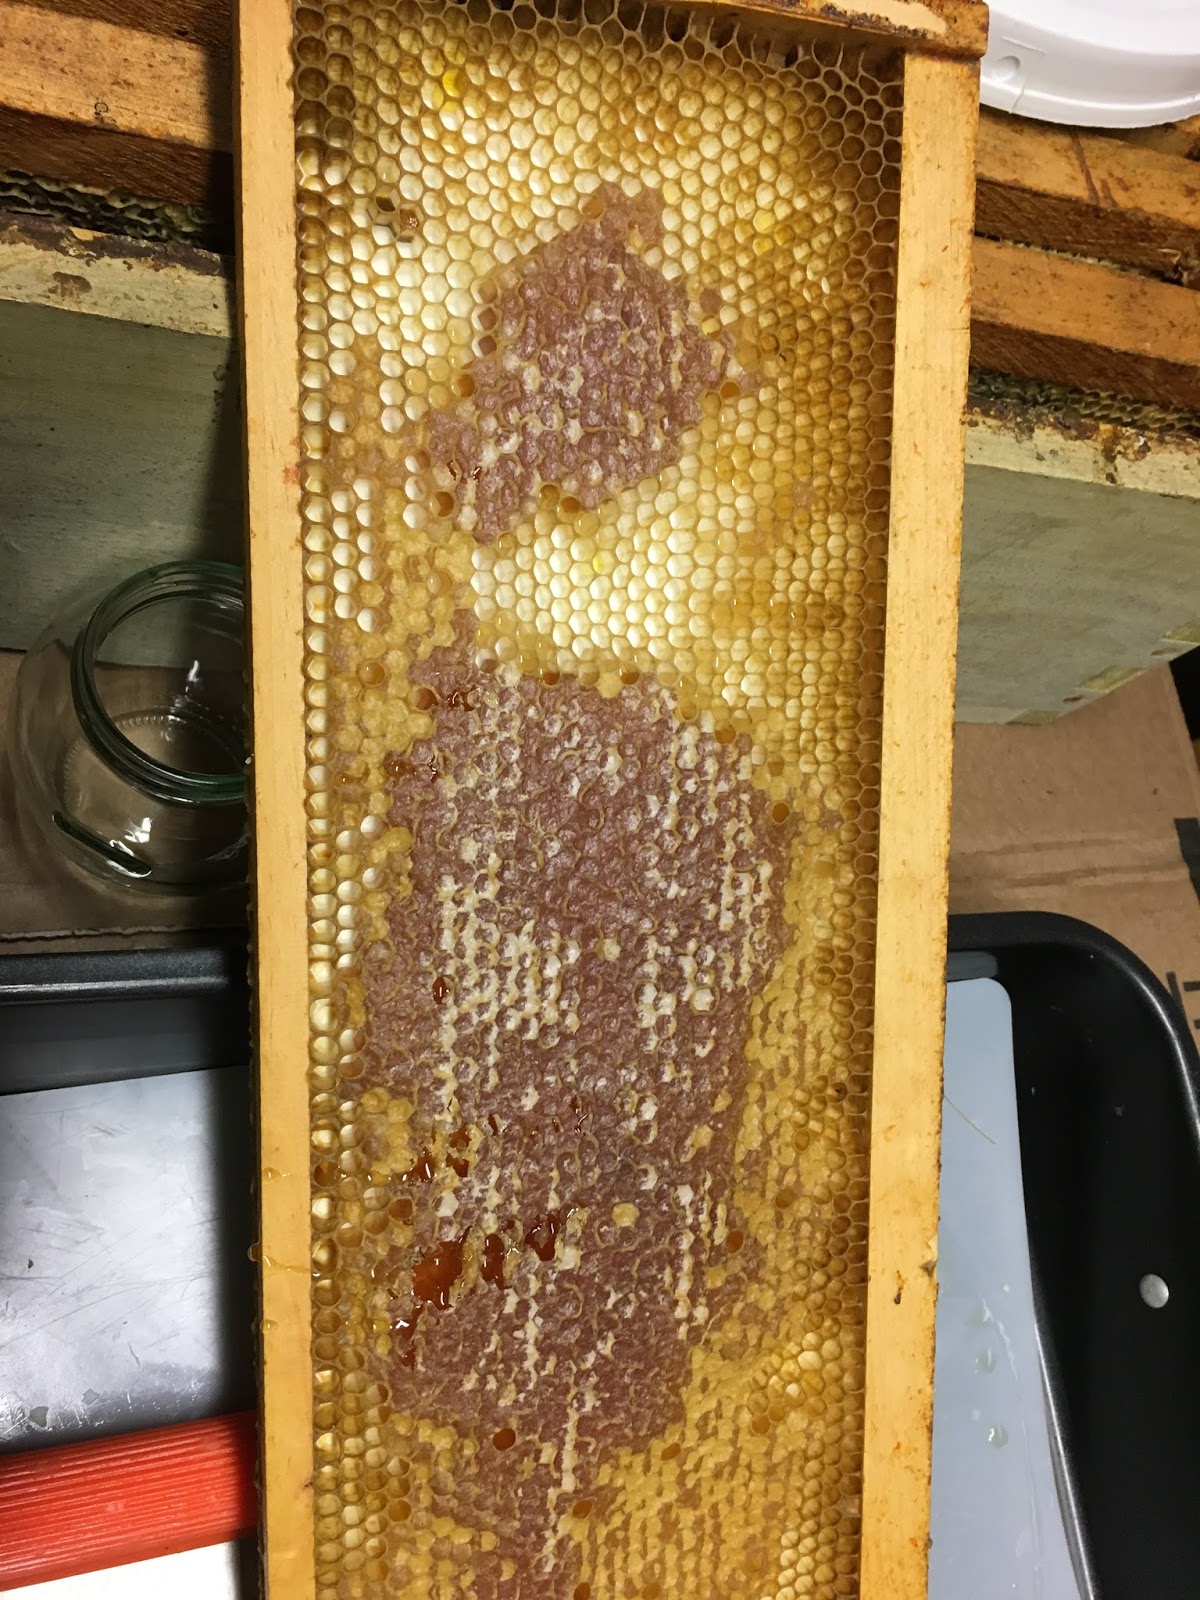
You can see in the first frame that it was only partially filled with capped honey.

 I used a spatula to scrape the honey into the crushing pan.
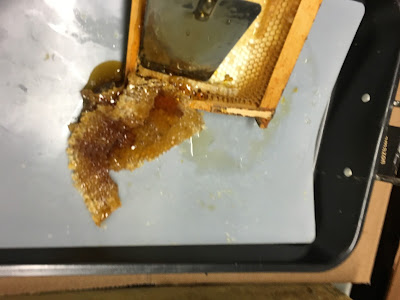
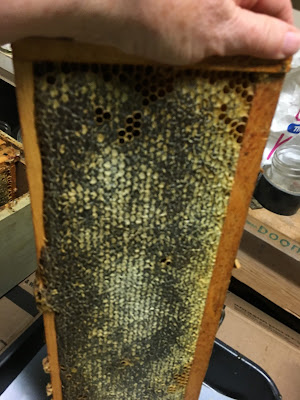 The fuller frames were more fun!
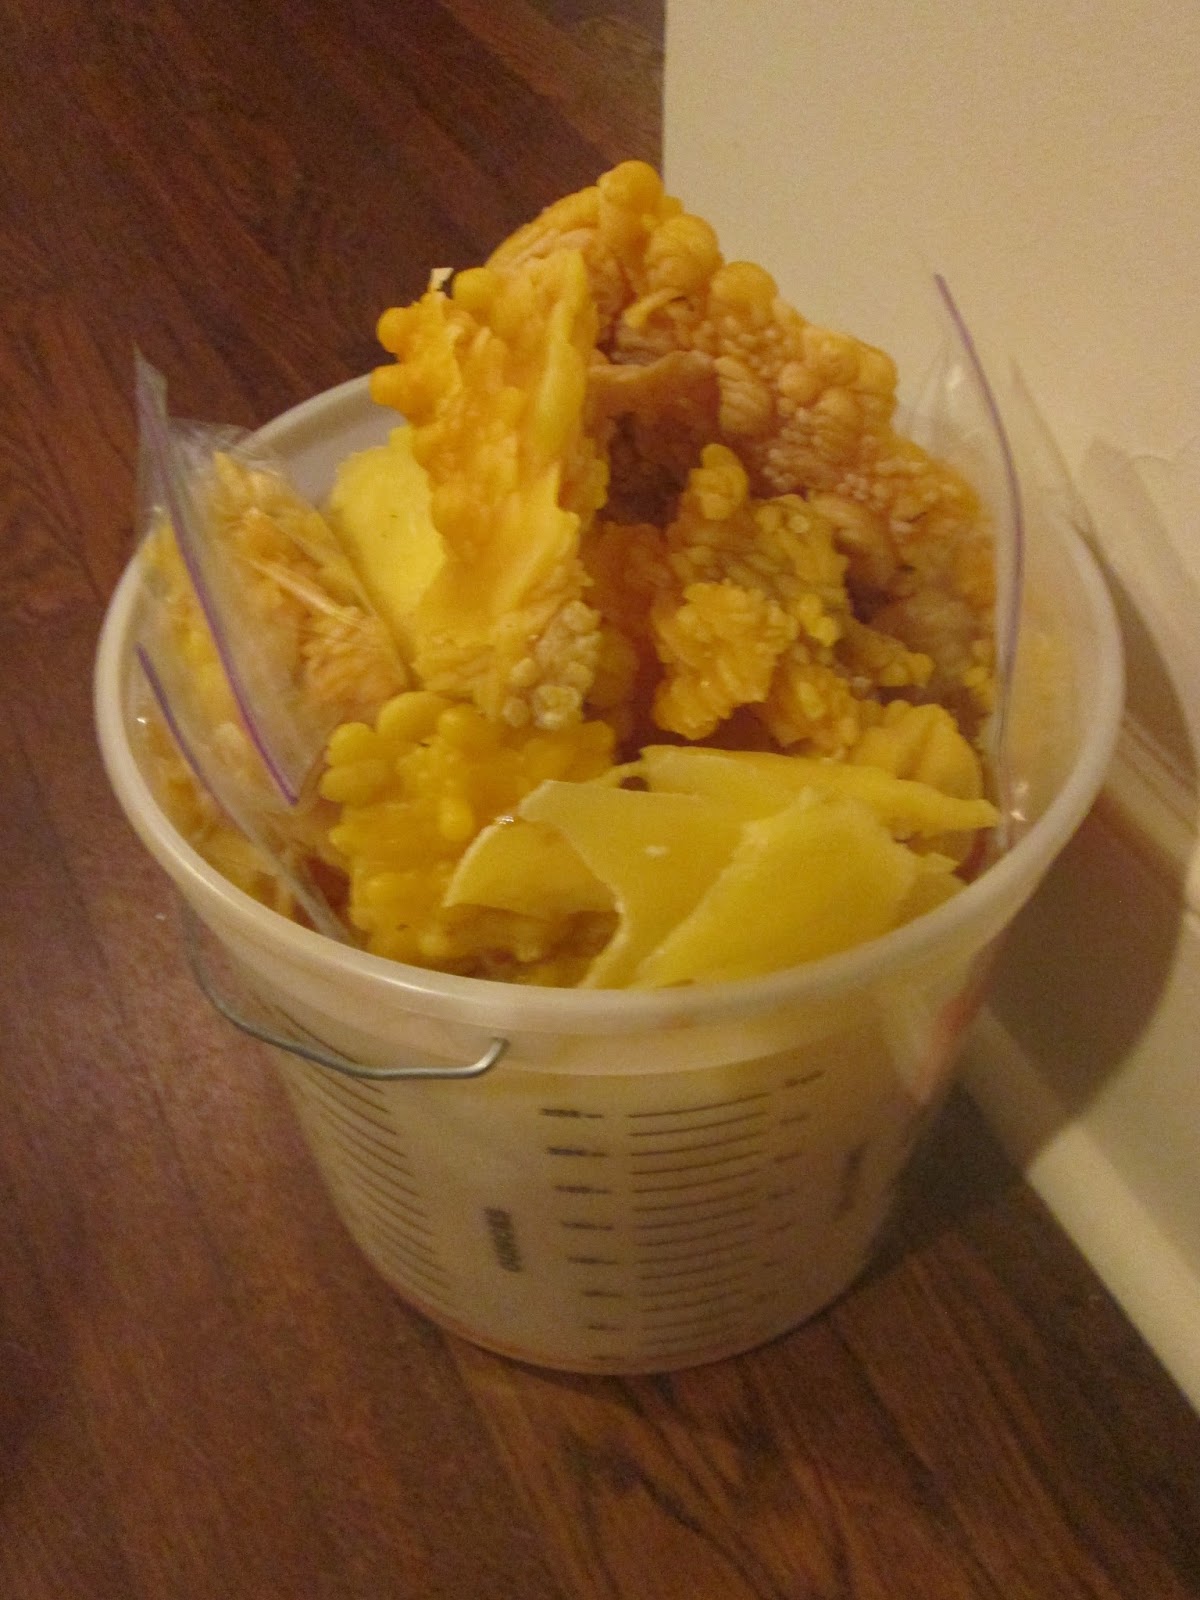
 When I had crushed it all and put the pulverized wax into the filter buckets, I then let the bees clean it up. I always do this in my front yard so it's not right next to the beehives.
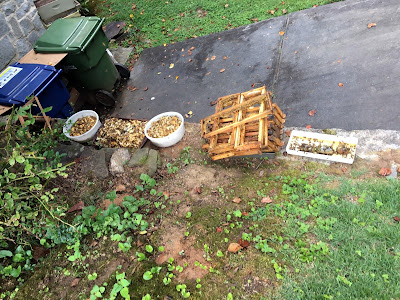

 Out in front of my house puts the house between the cleanup and the apiary. Mostly I am sure I am feeding bees from around the neighborhood (there are at least five beekeepers within a block of me).
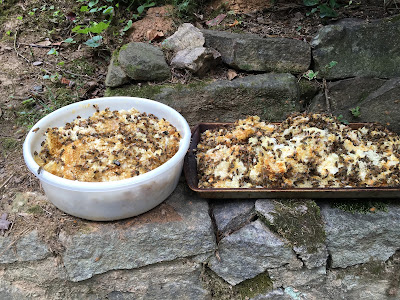
It is quite a party for the bees but at the end of the day the wax is clean, not at all sticky, and ready to put in the solar wax melter.
I harvested from them in mid-July and just haven't posted about it until now.
We took about two boxes worth of honey off of the two hives. We actually removed two boxes from each hive, but many of the frames were not used so we only harvested the excess, amounting to two boxes. I wanted to leave each hive with one full super in addition to whatever they have stored in the bottom brood box so that they have a good chance going into winter.
I brought the honey home and used a spatula to scrape the honey off of the plastic and into my crushing pan. This was the messiest harvest ever. And the frames were really drippy. I put the dripping frames into another roasting pan and will use the honey that dripped off of them to feed any bees who need feeding going into winter.
You can see in the first frame that it was only partially filled with capped honey.


 The fuller frames were more fun!


 Out in front of my house puts the house between the cleanup and the apiary. Mostly I am sure I am feeding bees from around the neighborhood (there are at least five beekeepers within a block of me).
It is quite a party for the bees but at the end of the day the wax is clean, not at all sticky, and ready to put in the solar wax melter.
Monday, July 20, 2015
New Take on the Solar Wax Melter - Trying Something Different
I've got a lot of wax to melt and have been feeling a little frustrated with the solar wax melter method I am currently using. I hate wasting all of those paper towels and you can only do a little at a time with the Tupperware, the paper towel, the rubberband, etc.
So wandering around Youtube, I found another solar wax melter, fancier than my version below, but based on the same idea. I quickly went past the video and haven't been able to find it again, but thanks to whoever provided this idea.
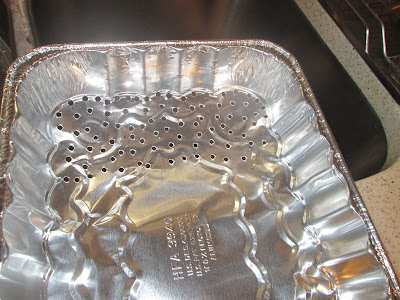
I went to the grocery store and bought aluminum 8X10 cake pans with about 2 inch sides. I took the handy awl I have in my toolkit - don't ask - it's the influence of my father in my childhood and his ideas of what one should have in a tool box. I may have never used it before. I used it to punch holes in the bottom of one end of the cake pan.


So wandering around Youtube, I found another solar wax melter, fancier than my version below, but based on the same idea. I quickly went past the video and haven't been able to find it again, but thanks to whoever provided this idea.
I went to the grocery store and bought aluminum 8X10 cake pans with about 2 inch sides. I took the handy awl I have in my toolkit - don't ask - it's the influence of my father in my childhood and his ideas of what one should have in a tool box. I may have never used it before. I used it to punch holes in the bottom of one end of the cake pan.


I also bought some plastic rectangular boxes and filled the boxes about one inch or so deep with water. I took my reliable on stand-by styrofoam beer coolers and placed a plastic water-filled box in each of them. The box was too large to go all the way down to the bottom but was large enough that it supported itself against the walls of the styrofoam cooler.
Then I put the aluminum pans at a slant in the cooler above the water filled plastic box. I made sure the end with the awl-punched holes was on the lower end of the slant.
I filled the aluminum pans with dry wax particles.

Then I covered the cooler with its pane of glass cover and left them to sit in the sun. Oh, and I lifted the high end up a little with an empty frame as support.

At the end of the day, the wax had melted and gone through the holes to float on the water below; the slum gum was all black and yucky, and I had lost no wax to a paper towel.


I have been using this for about a week now and have melted a lot of wax. Here's what I have gotten from my efforts so far.
Advantages of this melter:
1. Larger quantities of wax can be processed at a time.
2. No loss of wax to the paper towel filter.
3. The wax is quite clean and shows no need for a filter - all the slum gum stays in the aluminum pan. The water works beautifully as it did in my old melter for providing a surface on which the wax can float.
4. The wax is often in small bits from dripping through the holes - this will be easier to measure for soap and lip balm than having to melt the huge wax block before measuring (that's what's in the small plastic bags in the bucket - small bits of wax)
Disadvantages of this melter:
1. I believe the aluminum pans will have to be replaced after ten or twelve runs
2. At the end of the day, when the sun is no longer beating down, the slum gum hardens to the bottom of the aluminum pan. I've had to put the slum gum pans in the melter for a couple of hours the next day and then wipe them out with paper towels before they are available to use again.
3. The above task requires a pot holder because the pan is so hot and it's nasty to wipe out the slum gum...yuck.
4. Costs from scratch about $15 - $18 to make because the aluminum pans were not cheap...$6 for the styrofoam cooler, $5 for the aluminum pans, cost of glass pane will vary. The other solar wax melter cost about $10 total but melts much less wax and is more bother.
Thursday, October 09, 2014
My Grandson's Science Project
My grandson, Dylan, wanted to do something with bees for his third grade science project. He likes that I melt wax on the sidewalk in front of my house all the time so he and I decided that he could do a project about wax melting.
He decided to compare filter materials in the solar wax melter. I have three styrofoam box solar wax melters so he compared three filter materials - coffee filter, paper towel, and silk.


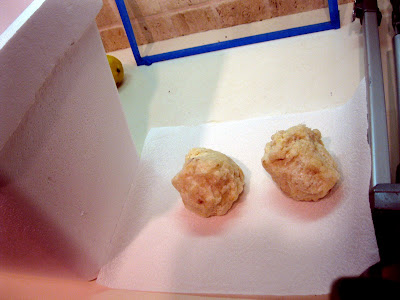
 He measured and weighed the wax shards so that there was a ball that weighed 2 ounces of wax on each plastic container.
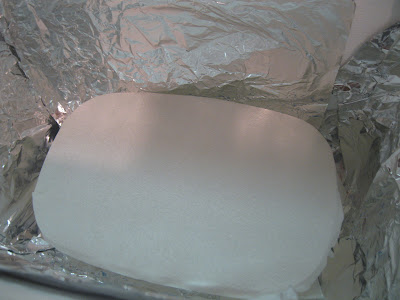
Then on a hot but somewhat cloudy day in August, we put all three solar wax melters out on the sidewalk - one with coffee filters, one with paper towels and one with silk. Dylan said in his report that "we left them out for three days, including nights."
At the end of the experiment, he discovered that his hypothesis (that paper towels would be the best because that is what his grandma used), was wrong. The coffee filter resulted in the cleanest wax by subjective observation. The silk, which took three full days to filter through completely, absorbed the least amount of wax, thus resulting in the most volume of wax filtered through.


He decided to compare filter materials in the solar wax melter. I have three styrofoam box solar wax melters so he compared three filter materials - coffee filter, paper towel, and silk.
Then on a hot but somewhat cloudy day in August, we put all three solar wax melters out on the sidewalk - one with coffee filters, one with paper towels and one with silk. Dylan said in his report that "we left them out for three days, including nights."
At the end of the experiment, he discovered that his hypothesis (that paper towels would be the best because that is what his grandma used), was wrong. The coffee filter resulted in the cleanest wax by subjective observation. The silk, which took three full days to filter through completely, absorbed the least amount of wax, thus resulting in the most volume of wax filtered through.
He and I printed out and put captions on photo of everything he did. Here he is in front of his board.
I was so proud of him and excited that he wanted me to do this with him. I hope he'll choose a bee project next year also.
Thursday, August 01, 2013
Make Hay While the Sun Shines
The solar wax melter would be getting rusty at my house if styrofoam were something that rusts. We have had the rainiest summer I can remember. It rains almost every day. You'd think we were in Seattle, but our rain in Atlanta is rather fierce, unlike Seattle, and usually comes with thunder, lightning and heavy sheets of rain.
The fact is that Atlanta has had 41.28 inches of rain in 2013 through July 8. It has apparently rained every 2.6 days and we are on pace to have the wettest year since 1879. Not good for the bees or the solar wax melter.
There have only been a few solar wax melter worthy days in the past months. Tuesday was finally one of those days, so I put out two wax melters and set them to work.

This has been a rainy summer in many parts of the country, but especially in the Southeast. This year, for the first time in the six or so years that my solar wax melter video has been up on YouTube, I've gotten several emails from people who say their wax melter isn't working. One of them said she had left it outdoors in the hot summer NIGHT of 80 degrees and the wax didn't melt. Another said that she was experiencing heavy moisture condensation under the glass, but that the wax didn't melt.
Seems like it is important to emphasize that the solar wax melter got its name because the SUN is required for it to work. The temperature has to be high enough all day, it's true. But for the solar wax melter to work, the sun must shine for most, if not all of the day.
On cloud covered days when the sun peeks in and out of the clouds, I often also come home to find moisture condensed inside the SWM and the wax unmelted. I just leave it out for the next sunny day and the wax does melt in the sun.
This time I put out the filters from filtering honey to let the bees clean it up in my bee yard. When I returned to get the filter, the wax was completely dry and cleaned:

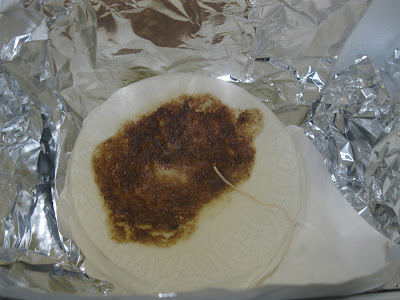
This felt much less wasteful to me than washing the wax and letting the bits of remaining honey run down the drain. I crunched the wax into balls and put them onto the tops of paper towels on Tuesday. I also put broken up sheets of wax from melting old brood combs.


At the end of hot and sunny Tuesday (finally), I had some lovely wax. Here is some of it.


Saturday, July 09, 2011
Differences in Old and New Wax, Melted
Below you can see the product from my first two uses of the solar wax melter this year. The top disk came from Lenox Pointe, all new drawn honey comb; the bottom one came from Stonehurst, again all new drawn comb.

Yesterday I had the wax from some frames that included some old comb (also from Lenox Pointe). BTW, here's a useful tip in squeezing the wax into a ball: Put the wax in a plastic bag and use that to help you form the ball. Your hands won't get all sticky with honey.

You can see the pieces of older comb mixed in with the new comb on the paper towel below. This wax is ready to go outside.

At the end of the day, here's what the wax looked like - much brighter and darker in shade.

The color isn't so good in the picture below but you can easily see the contrast in old wax (on the left) and new comb (on the right). When people who use extractors melt capping wax, they get the results on the right. If you go foundationless and do crush and strain with the all new comb, your results should also look like the comb on the right.
Comb is also affected in terms of color by the type of pollen in the honey. The wax on the left came from honey that I would define as medium to medium/dark. The comb on the right was a very light honey.

If you are entering a honey show with your wax, the judges will give more points to a lighter wax. All wax should retain the smell of the beehive, which is why you need to use this year's wax in wax melting for a honey show.
Thursday, June 30, 2011
First Date with the Solar Wax Melter
Yesterday was my first date this year with the solar wax melter. I set it out before I left of work and when I returned at the end of the day, the wax had all melted and filtered through the paper towel. I couldn't find one of my industrial strength rubber bands and the flimsy rubber band I used had popped during the process (see below)
But this wax from Lenox Pointe is light and beautiful. The advantage of foundationless frames is that all new wax from honey combs (not just capping wax) melts to look like this. Brood wax is always darker and not as pretty - but wax from comb holding honey is gorgeous.

Here the disk is popped out and sitting on a paper towel.

Happy with my first date, I balled up the cleaned wax from the Stonehurst four frame harvest and set the wax melter up to work again today.
Sometimes the melting wax wicks down through the paper towel and accumulates on the foil below the container. I found a new container with more surface area - I'm hoping this will be an even better result with less wicking.

But this wax from Lenox Pointe is light and beautiful. The advantage of foundationless frames is that all new wax from honey combs (not just capping wax) melts to look like this. Brood wax is always darker and not as pretty - but wax from comb holding honey is gorgeous.

Here the disk is popped out and sitting on a paper towel.

Happy with my first date, I balled up the cleaned wax from the Stonehurst four frame harvest and set the wax melter up to work again today.

Sometimes the melting wax wicks down through the paper towel and accumulates on the foil below the container. I found a new container with more surface area - I'm hoping this will be an even better result with less wicking.

Wednesday, September 01, 2010
The Solar Wax Melter Hard at Work
I used the solar wax melter to melt the wax from the Rabun County frames I robbed a couple of weeks ago. The wax comb in those frames was some old drawn comb I had given to these bees. What a difference there is in that comb and the freshly drawn comb of a foundationless frame! First the comb is tough and harder to crush and strain. Next it's dirty - see the photo below.

When the wax melter worked on this wax, the slum gum was extensive and burned and yucky.

Of course, the reward is the beautiful and lovely smelling wax that is the result of filtering through the paper towel to the water below. Isn't this pretty and I wish you could smell it!


When the wax melter worked on this wax, the slum gum was extensive and burned and yucky.

Of course, the reward is the beautiful and lovely smelling wax that is the result of filtering through the paper towel to the water below. Isn't this pretty and I wish you could smell it!

Thursday, June 24, 2010
Using the Solar Wax Melter
Large combs like the brood combs I rendered in the stew pot can't be easily put in my solar wax melter. The solar wax melter works best with clumps of wax from a honey harvest that is tender and malleable. The wax that I rendered is discolored, not tender, and doesn't smell sweet like wax from a harvest.
I took the cylinder of wax and broke it up today to melt in the solar wax melter. I thought it would filter more of the impurities out than the flannel pillow case did. I ended up with two stacks of wax pieces and put them in my two solar wax melter styrofoam boxes.


I set the two solar wax melters on my front walk in the full sun and left for work.

This is the wax under the glass, stacked to melt and filter through the paper towel.

At the end of the day, the slum gum was burned into the paper towel filter and wax was floating on the water's surface in the Tupperware container.

I took the cylinder of wax and broke it up today to melt in the solar wax melter. I thought it would filter more of the impurities out than the flannel pillow case did. I ended up with two stacks of wax pieces and put them in my two solar wax melter styrofoam boxes.

I set the two solar wax melters on my front walk in the full sun and left for work.

This is the wax under the glass, stacked to melt and filter through the paper towel.

At the end of the day, the slum gum was burned into the paper towel filter and wax was floating on the water's surface in the Tupperware container.

Removing the paper towel, I found cleaner wax that was still darker than the wax cappings that I usually use or the honey-filled honey comb that I use after harvest.
Here's the wax popped out of the Tupperware. The sad part is that it doesn't smell nice like most of my solar wax melted wax does. However, I have a horrible summer cold, so maybe I'm just not smelling as well as usual.

It bleaches out a little every time it is in the solar wax melter and in addition, more impurities will filter out. I'm inclined to put these pieces back in the solar wax melter tomorrow.

After a second trip through the solar wax melter, the wax isn't much lighter, so I'll probably stop fooling with it. This is now a disk about an inch thick, including both of the other wax pieces from yesterday's melting.
The peeled wax pieces at the upper left are the result of wax melting and dripping off of the paper towel filter onto the aluminum foil below. In addition to helping with the interior heat, the aluminum foil offers an easy way to peel up wax that does this.
I haven't rendered wax from brood combs before. I imagine it is always darker in the end than wax from a crush and strain honey harvest.
Subscribe to:
Posts (Atom)
Pin this post
