Welcome - Explore my Blog

I've been keeping this blog for all of my beekeeping years and I am beginning my 19th year of beekeeping in April 2024. Now there are more than 1300 posts on this blog. Please use the search bar below to search the blog for other posts on a subject in which you are interested. You can also click on the "label" at the end of a post and all posts with that label will show up. At the very bottom of this page is a list of all the labels I've used.

Even if you find one post on the subject, I've posted a lot on basic beekeeping skills like installing bees, harvesting honey, inspecting the hive, etc. so be sure to search for more once you've found a topic of interest to you. And watch the useful videos and slide shows on the sidebar. All of them have captions. Please share posts of interest via Facebook, Pinterest, etc.

I began this blog to chronicle my beekeeping experiences. I have read lots of beekeeping books, but nothing takes the place of either hands-on experience with an experienced beekeeper or good pictures of the process. I want people to have a clearer picture of what to expect in their beekeeping so I post pictures and write about my beekeeping saga here.Master Beekeeper Enjoy with me as I learn and grow as a beekeeper.

Need help with an Atlanta area swarm? Visit Found a Swarm? Call a Beekeeper. ‪(404) 482-1848‬

Want to Pin this post?

Showing posts with label rendering wax. Show all posts

Thursday, August 01, 2013

Make Hay While the Sun Shines

The solar wax melter would be getting rusty at my house if styrofoam were something that rusts.  We have had the rainiest summer I can remember.  It rains almost every day.  You'd think we were in Seattle, but our rain in Atlanta is rather fierce, unlike Seattle, and usually comes with thunder, lightning and heavy sheets of rain.

The fact is that Atlanta has had 41.28 inches of rain in 2013 through July 8.  It has apparently rained every 2.6 days and we are on pace to have the wettest year since 1879.  Not good for the bees or the solar wax melter.

There have only been a few solar wax melter worthy days in the past months. Tuesday was finally one of those days, so I put out two wax melters and set them to work.


This has been a rainy summer in many parts of the country, but especially in the Southeast.  This year, for the first time in the six or so years that my solar wax melter video has been up on YouTube, I've gotten several emails from people who say their wax melter isn't working.  One of them said she had left it outdoors in the hot summer NIGHT of 80 degrees and the wax didn't melt.  Another said that she was experiencing heavy moisture condensation under the glass, but that the wax didn't melt.

Seems like it is important to emphasize that the solar wax melter got its name because the SUN is required for it to work.  The temperature has to be high enough all day, it's true.  But for the solar wax melter to work, the sun must shine for most, if not all of the day.

On cloud covered days when the sun peeks in and out of the clouds, I often also come home to find moisture condensed inside the SWM and the wax unmelted.  I just leave it out for the next sunny day and the wax does melt in the sun.

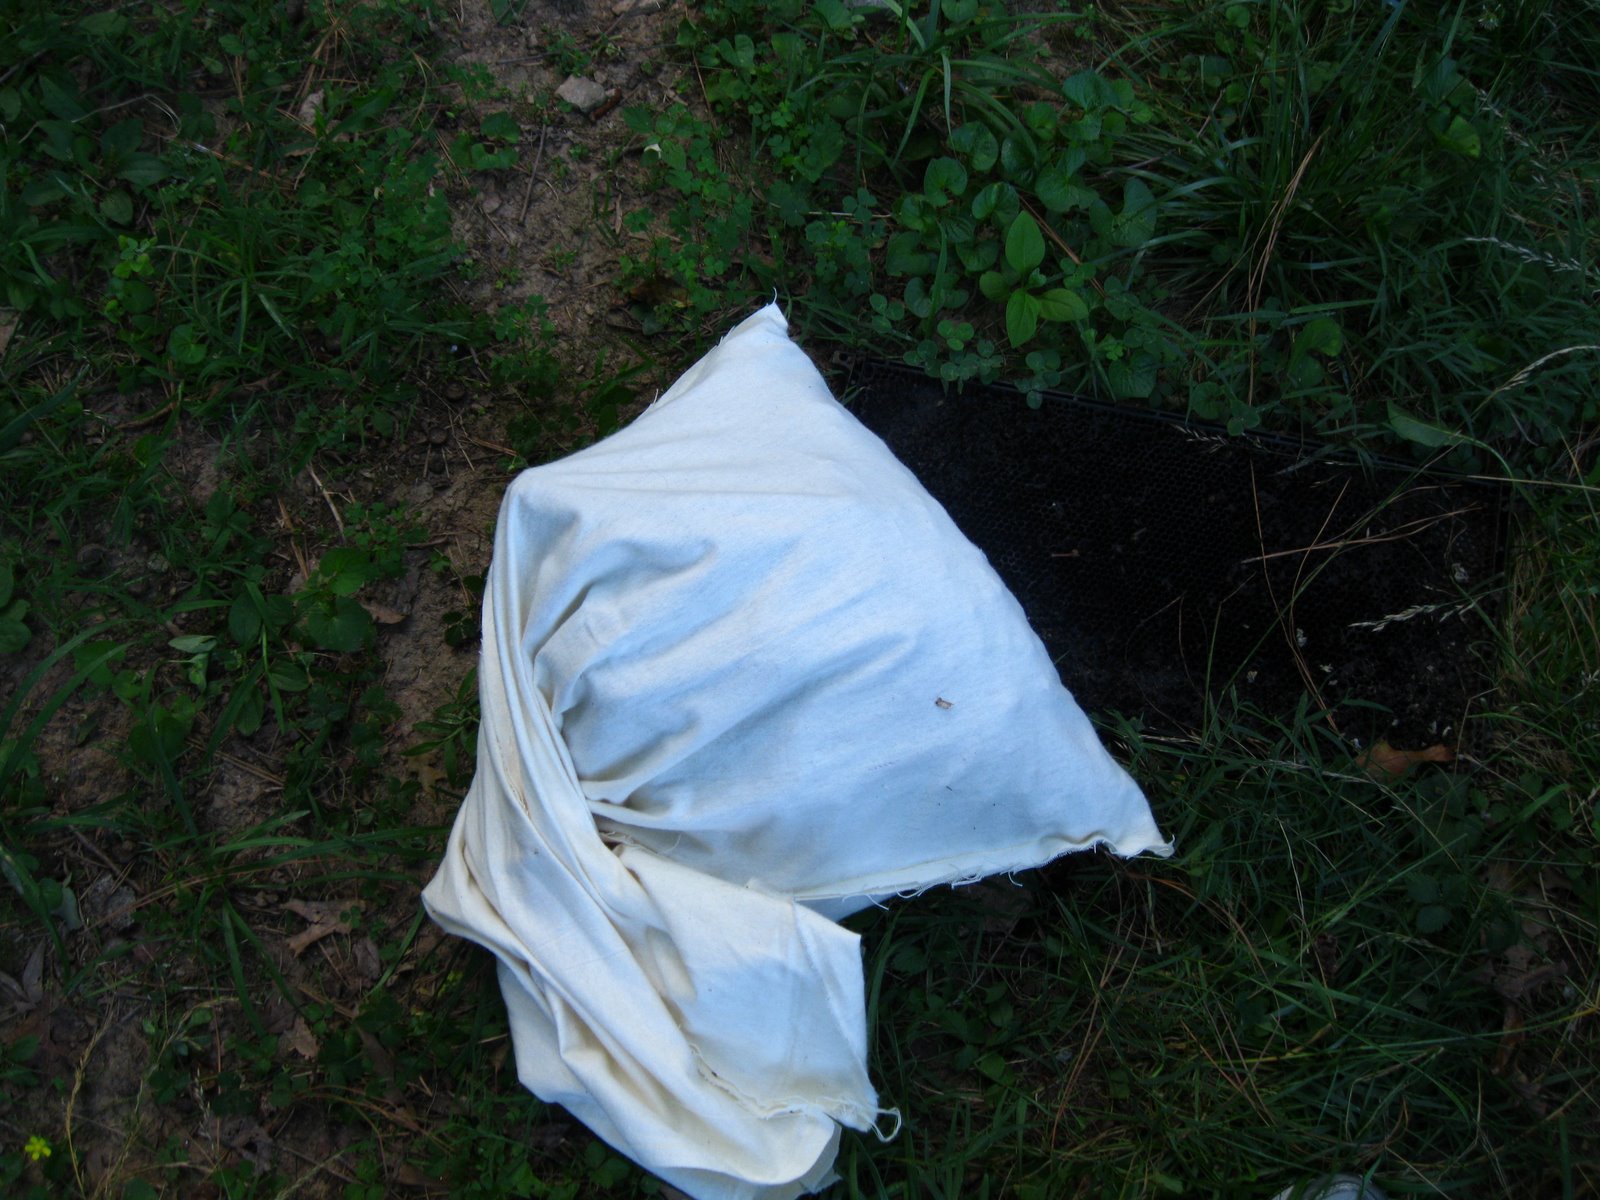
This time I put out the filters from filtering honey to let the bees clean it up in my bee yard.  When I returned to get the filter, the wax was completely dry and cleaned:


This felt much less wasteful to me than washing the wax and letting the bits of remaining honey run down the drain.  I crunched the wax into balls and put them onto the tops of paper towels on Tuesday.  I also put broken up sheets of wax from melting old brood combs.


At the end of hot and sunny Tuesday (finally), I had some lovely wax.  Here is some of it.


Wednesday, April 04, 2012

A Mountain of Old Wax from the Bees

Suddenly I find that I am managing 22 hives - I'm not quite sure how that happened and I am sure that the numbers will decrease soon.  In the process, I am desperate for equipment.

To that end yesterday ahead of my inspections, I had to get seven boxes ready in case hives needed new supers.  I had the boxes, but not the frames.  So yesterday morning at 7:15 I was in my backyard, cutting old wax out of frames with my hive tool.

Below is the ensuing collection - there will be more.  I haven't finished.  And we have at least 100 unbuilt frames in my basement.  I took those to Jeff today.  He will build frames; I will build and paint boxes.  Of course this is what beekeepers are supposed to do in the winter, but the numbers crept up on me to my total surprise!


In the next couple of weeks (when I have some spare time - anyone laughing yet?) I'll melt this down a la Cindy Bee.

If you are wondering about the (SHOCK) 22 hives, here they all are:

At my house to stay:
2 package installations
1 nuc installation
2 splits from Colony Square
1 top bar hive

At my house temporarily:
Flower Pot Swarm (this will be moved soon as the queen is mated and laying)

Total at my house:   7

At Jeff and Valerie's house
Colony Square
Lenox Pointe
Lenox Pointe 2 (AKA Swarm hive)
Five Alive

Total at Jeff's house:  4


At Community Gardens:

Morningside Community Garden
2 package installations

Rabun County community Garden
2 hives - one survived the winter, second a moved-in swarm

Blue Heron Nature Preserve (and community garden)
Lisa's hive

Chastain Conservancy:
1 package installation

Total at community gardens:  6

Miscellaneous locations:


At Sebastian's and Christina's 
2 nuc installations


At the Stonehurst Place Inn
2 nuc installations (2012)
1 existing hive from last year


Total at miscellaneous locations:  5

Grand total:  22


I will get it down to 21 and perhaps 20, though.  Julia is going to take the really weak queen and bees from Lisa's hive and put them into her observation hive.  I will take the FlowerPot Swarm and install it into Lisa's Hive.  If the splits from Colony Square don't both make good queens, I'll combine them into one hive.  That would take my numbers down to 20.


I figure that I am likely to get honey from 7 - 10 of these this year.....but maybe that's counting my honey comb before it produces......


I didn't count the club Nuc/Observation hive which is also in my yard because it is going to Julia when I move the Flower Pot Swarm to Lisa's hive.
Posted by Picasa

Thursday, June 24, 2010

Using the Solar Wax Melter

Large combs like the brood combs I rendered in the stew pot can't be easily put in my solar wax melter. The solar wax melter works best with clumps of wax from a honey harvest that is tender and malleable. The wax that I rendered is discolored, not tender, and doesn't smell sweet like wax from a harvest.

I took the cylinder of wax and broke it up today to melt in the solar wax melter. I thought it would filter more of the impurities out than the flannel pillow case did. I ended up with two stacks of wax pieces and put them in my two solar wax melter styrofoam boxes.


I set the two solar wax melters on my front walk in the full sun and left for work.


This is the wax under the glass, stacked to melt and filter through the paper towel.


At the end of the day, the slum gum was burned into the paper towel filter and wax was floating on the water's surface in the Tupperware container.


Removing the paper towel, I found cleaner wax that was still darker than the wax cappings that I usually use or the honey-filled honey comb that I use after harvest.


Here's the wax popped out of the Tupperware.  The sad part is that it doesn't smell nice like most of my solar wax melted wax does.  However, I have a horrible summer cold, so maybe I'm just not smelling as well as usual.


It bleaches out a little every time it is in the solar wax melter and in addition, more impurities will filter out.  I'm inclined to put these pieces back in the solar wax melter tomorrow.


After a second trip through the solar wax melter, the wax isn't much lighter, so I'll probably stop fooling with it.  This is now a disk about an inch thick, including both of the other wax pieces from yesterday's melting.

The peeled wax pieces at the upper left are the result of wax melting and dripping off of the paper towel filter onto the aluminum foil below.  In addition to helping with the interior heat, the aluminum foil offers an easy way to peel up wax that does this.

I haven't rendered wax from brood combs before.  I imagine it is always darker in the end than wax from a crush and strain honey harvest.

Posted by Picasa


Rendering wax from old comb

In the Appalachian mountains, people would say that they learned to use every part of the hog except the squeal. I would like to make the most use of my bees - I love their honey and the wax they produce is amazing. Watching them produce the wax from the glands on their thorax and watching them connect with each other with the wax as they work to build comb makes me really respect what goes into the product.

We are all being taught that old wax is a source of disease and is not good for the bees to reuse year after year. I believe the current thought is that all brood comb should be changed out every three years. In addition, when you lose a hive and the small hive beetles take over (two hives for me this year), the slime on the comb makes it unusable and unattractive to bees.

Consequently I have a lot of old comb that needs to be addressed. I could throw it out but I want to respect the work that the bees put into it. In addition, if I get wax, there's lots I like to do with it in making lotion and lip balm. So I want to try to recover usable wax from these old combs.

I don't have the huge turkey fryer that Cindy Bee uses, nor do I have a propane tank, but I do have this stew pot that everyone hates - it's not heavy enough to do the kind of job I want it to do in my kitchen, making gumbo or stewing a chicken, so it's now been relegated to the rendering pot. I have a single burner, designed for apartment dwellers, so I plugged it in in my carport, filled the stew pot with water and began heating.


Lesson for next time: Put really hot water in the pot to speed up the heating time.

Cindy says to get a 100% cotton flannel old pillow case from a flea market or thrift store. I didn't have that but did have some pale yellow 100% cotton flannel material that I bought at Hancock's. So I stitched up the sides and made a pillow case of sorts. I didn't have time to age the pillow case, however!


I filled the pillow case with old brood comb from the dead hive Julia and I rescued earlier in the season. The comb was wired and as I pulled out the wires, I could see the layers of cocoon casings that now lined the honey comb cells. You can see it too, if you click on the picture below to enlarge it.


When the bag was full, it included the blackened brood comb from a 10 frame deep super, slimed comb from a 10 frame shallow super, and a half bucket of old comb from the rescued hives.


I put the filled pillow case into the hot/heating water.

As the comb melted down, I twisted the pillow case to squeeze out the liquid wax, etc. as it melted.  Combs that have been slimed by the small hive beetle smell a little like Orange Crush and as this melted, that is the smell that emanated from the mixture.  The water turned dark, dark brown.


As the comb melted the slum gum inside the pillow case got smaller and smaller.


I didn't have a colander that would fit the stew pot, so I bought this grill skillet with large holes, just perfect for draining the liquid out of the pillow case.


However, the pillow case filled with slum gum did drip a little out of the pot when I put it in the grill skillet.  Later I scraped the hardened wax up off of the concrete carport floor and was grateful that it wasn't my kitchen floor!


I left it to drain all night.  The next morning the non-stick skillet was pretty clean and wax was floating on the surface of the nasty, nasty water.


Isn't the water gross?  And it still smelled like Orange Crush.


Here's the end product - a cylinder of wax about 1/2 inch thick.  This still has a way to go before being in a state in which I can use it for lip balm, etc.  I plan to break up this cylinder and melt it in the solar wax melter where it will get filtered yet again and bleached by the sun.


Posted by Picasa

Tuesday, June 22, 2010

Rendering Wax with Cindy Bee

At Young Harris Beekeeping Institute, I went to a demonstration by Cindy Bee on rendering wax. I wanted to see what she does because I now have a number of frames of slimed comb from the small hive beetle and I'd like to capture some wax from them.

Cindy puts gross old wax into an old flannel pillow case. She just pops the wax comb out of the frame and dumps it into the pillow case.


She then puts the full pillow case into this huge pan (it's for frying turkey originally). She has the water heated to boiling on a propane burner.


The wax quickly melts down and she uses this stick to help push it down and out.

The stick helps press the gross scum gum down into the bottom of the pillow case.


Then she lifts the pillow case out of the water and puts it into a colander of sorts that sits at the top of the pan and drains.


She wears gloves so as not to get burned and presses down on the solids in the bag.


Then she dumps the remains (the slum gum, as it is called) into a box and discards it.


She leaves the pot to cool and when all is said and done, she has a ring of wax.  It still needs more processing to be usable but at least some wax is recovered from useless frames or old comb.


I've bought some equipment - not as sturdy or sophisticated as this, but I'll report on my own wax rendering a la Cindy Bee in the next day or two.
Posted by Picasa

Pin this post

LinkWithin

Related Posts Plugin for WordPress, Blogger...