Welcome - Explore my Blog

I've been keeping this blog for all of my beekeeping years and I am beginning my 19th year of beekeeping in April 2024. Now there are more than 1300 posts on this blog. Please use the search bar below to search the blog for other posts on a subject in which you are interested. You can also click on the "label" at the end of a post and all posts with that label will show up. At the very bottom of this page is a list of all the labels I've used.

Even if you find one post on the subject, I've posted a lot on basic beekeeping skills like installing bees, harvesting honey, inspecting the hive, etc. so be sure to search for more once you've found a topic of interest to you. And watch the useful videos and slide shows on the sidebar. All of them have captions. Please share posts of interest via Facebook, Pinterest, etc.

I began this blog to chronicle my beekeeping experiences. I have read lots of beekeeping books, but nothing takes the place of either hands-on experience with an experienced beekeeper or good pictures of the process. I want people to have a clearer picture of what to expect in their beekeeping so I post pictures and write about my beekeeping saga here.Master Beekeeper Enjoy with me as I learn and grow as a beekeeper.

Need help with an Atlanta area swarm? Visit Found a Swarm? Call a Beekeeper. ‪(404) 482-1848‬

Want to Pin this post?

Showing posts with label wax pieces. Show all posts

Tuesday, November 13, 2007

A Sad Tale of Shattered Wax


When the trick-or-treaters had gone on Halloween, I was left with a lot of candy. Well, that's not exactly true. I live in a neighborhood of 80 year old people and there are very few children....so I never get any trick-or-treaters on Halloween, but I always buy a bag of Three Musketeers, just in case this is the year when someone actually says "Trick or Treat!" at my door.

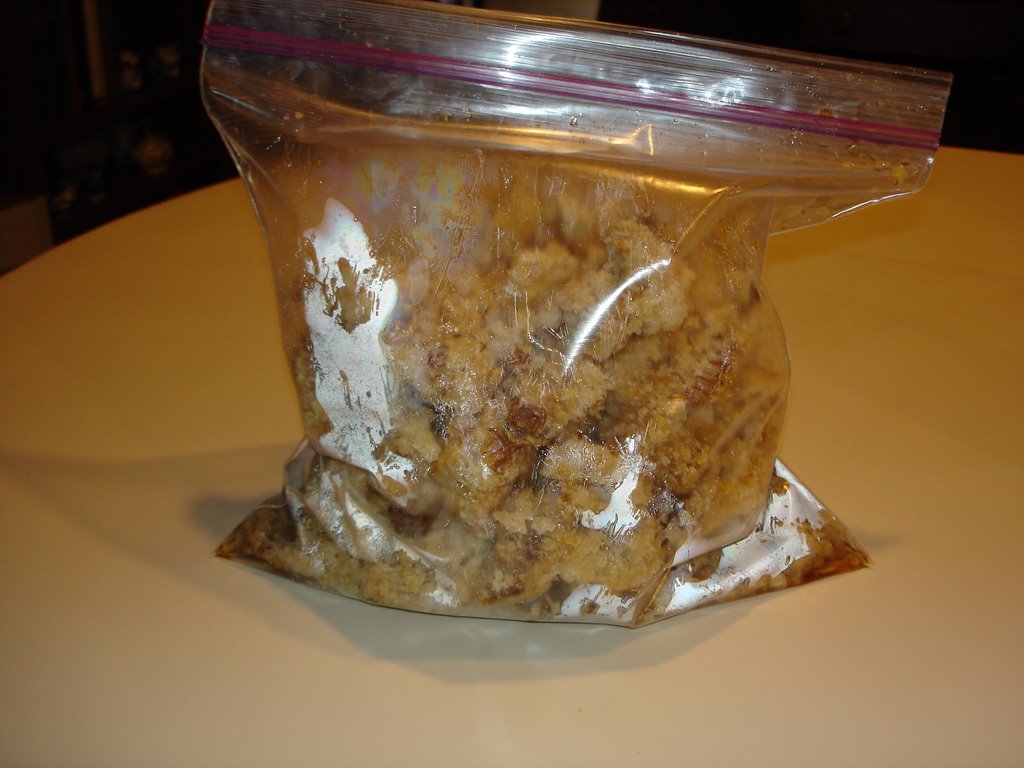
Sadly, this year was no different - no kids in costume knocked at my door. To keep from eating the candy, I took it to my downstairs refrigerator to freeze it. When I opened the upper door to the freezer compartment, a practically unused box of 7/11 foundation, stored in the freezer, crashed to the floor and broke into shards of wax.

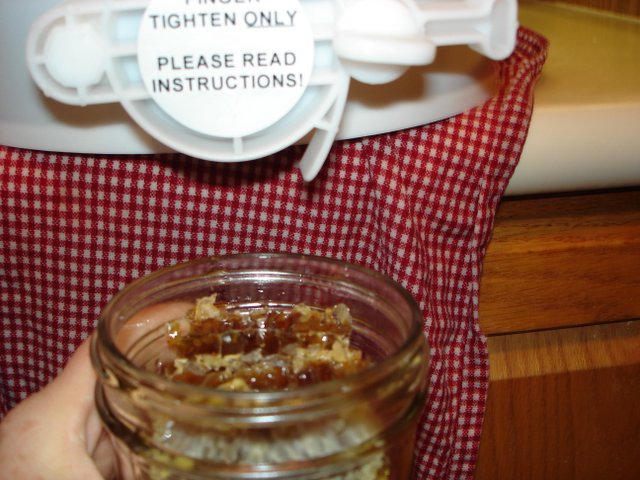
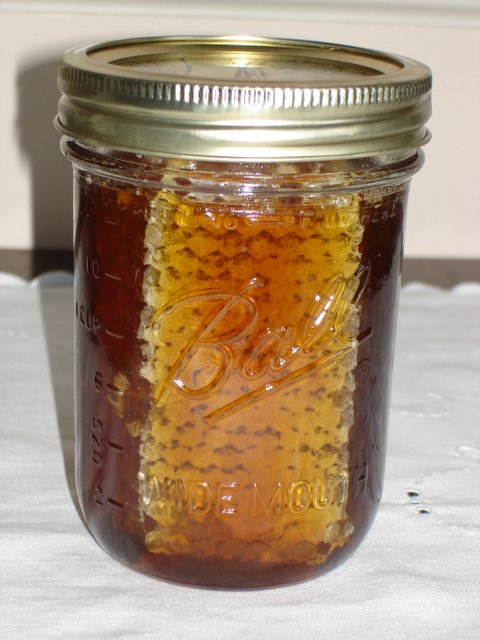
The bees made beautiful comb from this wax last year and I made boxed and cut comb honey from it. Now it's all in pieces.

I guess I have several choices. I could save the shards and put partial strips in honey supers next year so the bees could get a start at drawing the beautiful wax for cut comb boxes. I could melt it all into candles.

Lesson learned: Don't store foundation in the freezer.

I should know this. I overnighted some comb-filled frames in the chest freezer to kill wax moths and dropped one when I took it out. That comb also shattered into pieces of wax.
Posted by Picasa

Tuesday, July 17, 2007

"Wet" honey cappings and "dry" honey cappings


When I opened Mellona today, I found some honey that had "wet" cappings. Most of the honey in my hives has "dry" cappings. According to Kim Flottum in The Backyard Beekeeper on page 97:

"You'll find frames that have what are called "wet" cappings,.....and "dry" cappings. When bees place the wax covering over the cell filled with ripe honey, they either place the wax capping directly on the honey, giving the cap a wet appearance, or they leave a tiny airspace between the wax and the surface of the honey, giving the cap a dry appearance. Comb honey producers prefer the dry look, but neither wet nor dry caps have any effect on the quality or flavor of the honey."
The upper picture illustrates "wet" cappings. The lower picture illustrates "dry" cappings.

The only remaining super that I have to harvest is on Mellona and the honey is mostly capped with "wet" cappings.
Posted by Picasa

Sunday, October 08, 2006

Building a solar wax melter


After harvesting all of my honey, I have a lot of wax. There are three gallon zip-loc bags in my freezer full of wax that has been washed but not melted. To use the wax, it needs to be melted into a solid, rather than the fragments I have now.

To start this process, I explored the Internet and found this pattern for a solar wax melter (2011 note: this link appears broken and I can not find the web page any longer).  Instead I'll post a screen shot from the GSU professor's website where I first saw it at the end of this post.

 I thought that a styrofoam box like fishermen use would be a perfect insulated box for melting my wax. I went to Home Depot and to Lowe's and neither carried a styrofoam box. Finally I found one at my neighborhood Ace Hardware - and it was on sale for $3.00.

Next I needed glass to fit the top. Although Home Depot no longer cuts glass, they carry precut window replacements, so I bought a piece of glass 12 X 16 inches - to fit the top of my styrofoam box. Cost: $3.50. I also bought a can of spray black paint, reasoning that it would be better for the box to be black to absorb the sun's heat rather than white to reflect it. Cost: $1.79

I already owned a tall Tupperware plastic container and some good paper towels as well as string to tie the paper towel to the Tupperware.

If I'm lucky and this works, I now have a solar wax melter for the cost of a little over $8.00. Since purchasing them is at least 4 times that, I feel lucky.


I put about 2 inches of water in the Tupperware container and fitted the paper towel over it, tying the string to hold it in place. I used duct tape to protect myself from the edges of the glass (and it makes a pretty good handle for lifting the glass.)

I took one gallon bag of the wax out of the freezer and opened it. I spread it on a cookie sheet, lined with paper towels to absorb any water that collects as it thaws. Tomorrow morning I'll put some of the wax pieces in my solar wax melter and leave it for the day while I go to work. I'll report back to let you know if this works. Posted by Picasa


Saturday, August 19, 2006

Chunk Honey - Phase Two


The crushed honey sat on the edge of my garden for several hours and most of the honey strained through the filter by then. I took the bucket in to my kitchen and began filling the wide-mouthed jars filled with honeycomb.

I had 22 jars and just enough honey to fill all of them - which says to me that to do chunk honey, I'll always need to allot about half of the frames to crush and strain to provide the honey to fill the jars.

So at the end of the day of honey bottling, I have:

1. From Bermuda, all done in crush and strain, I emptied one 10 frame shallow super and got about 21 pounds of bottled honey.

2. From Destin, I emptied one 10 frame shallow super and made 22 pint jars of chunk honey, including comb and filler honey.


Posted by Picasa


3. I also ended up with 2 gallon ziploc bags filled with washed wax cappings and crushed comb


At the end of the honey bottling day, I put the empty frames, each with honey dripping from them, back on the hive from which they came. I put the frames in Bermuda back in the empty super below the inner cover. I put the frames in Destin above the inner cover, as suggested in Hive Management.

I'm not sure that was a good idea in that there has been a frenzy of bee activity around the super in Destin with the honey dripping from the frames - I'm not sure if robbing from Bermuda is happening or what.

I left the wax from the chunk honey in the filter over the 5 gallon bucket to continue to filter overnight. Whew!!!! What a day!

Bermuda still has three honey supers on the hive - one is pretty empty; one has honey and brood and is closest to the brood boxes, so I'll leave it on the hive for the bees; one more is full and capped. So I still have at least one super to harvest from that hive.

Destin still has two honey supers on the hive. One is pretty empty and the other is full of beautifully capped honey. I will harvest at least that one super from the Destin hive in a week or two.

Pin this post

LinkWithin

Related Posts Plugin for WordPress, Blogger...