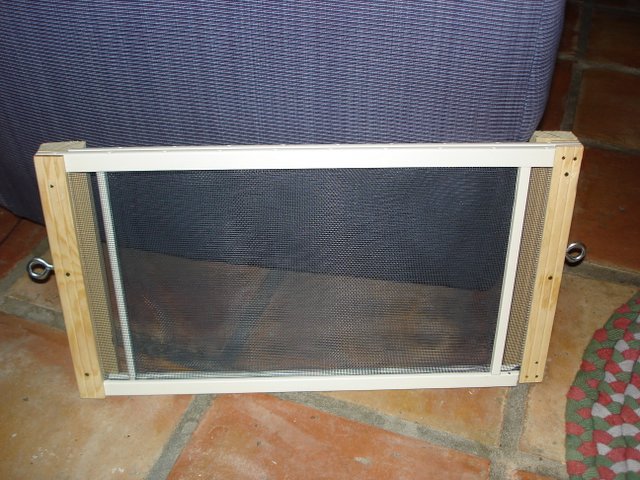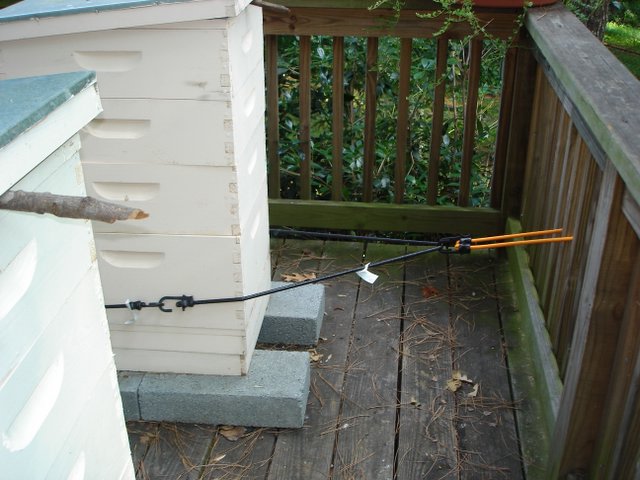
With bees buzzing all around me, I screwed two screw eyes into the back of Bermuda - one on each side.
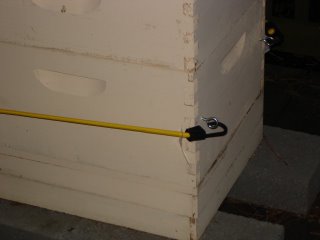
I used an 18" bungee cord to connect the robber screen to the back screw eye on each side of the hive.
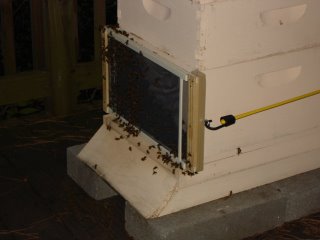
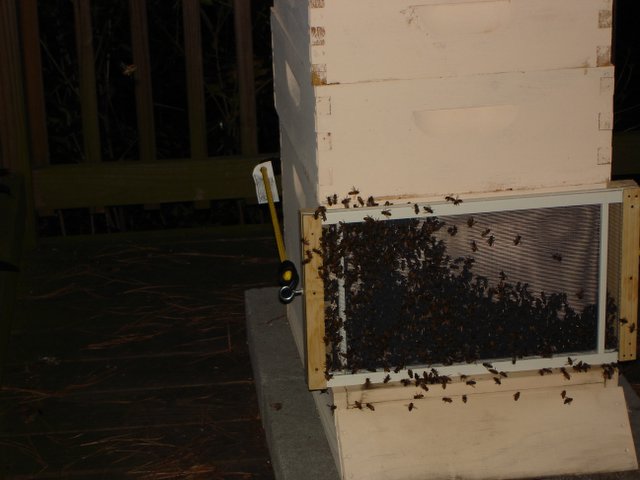
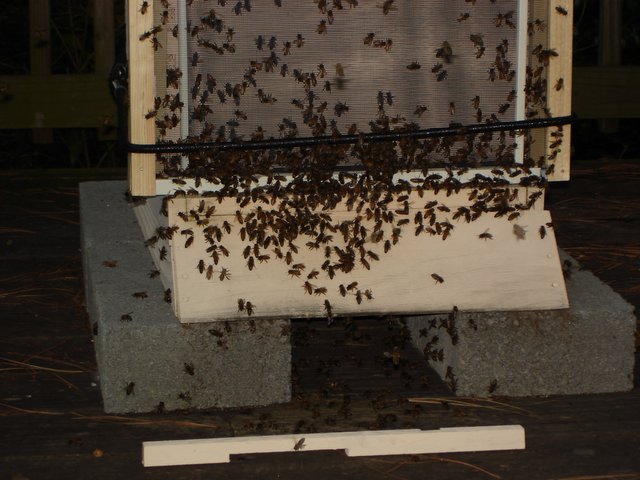
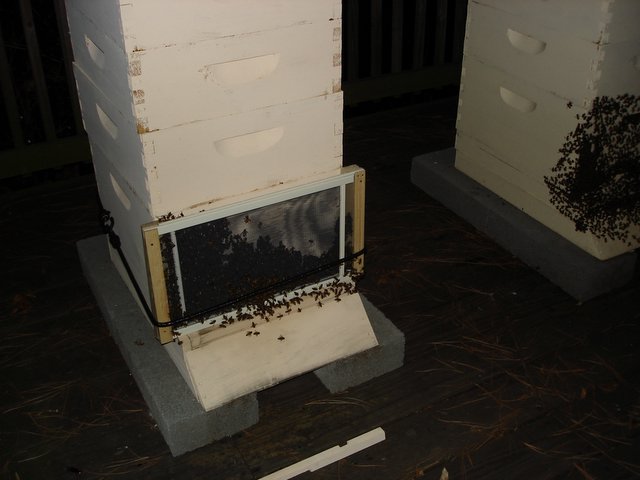
Here you can see everything connected. This was not as upsetting for the bees, since they have been getting used to the robber screen for two days. I put the new screen on Bermuda since it has had a robbing problem. I set the old screen on its side until tonight when finally all the bees had left the old screen and returned to the hive.
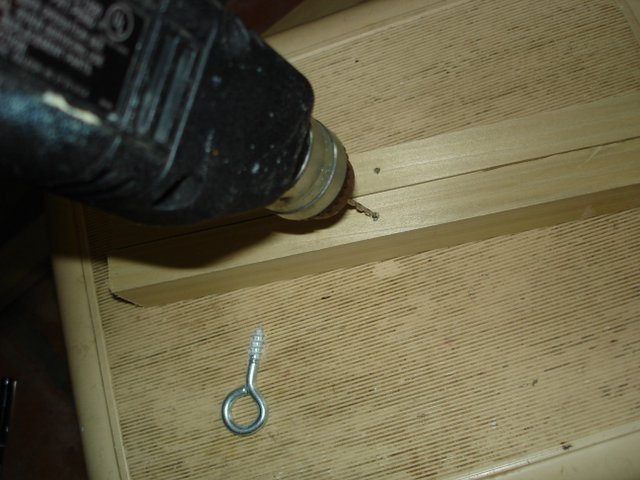
Tonight I put screw eyes in to the sides of my original effort at making a robber screen and screwed screw eyes into the back of Destin.
Tomorrow while the bees are flying, I'll install the robber screen on Destin.

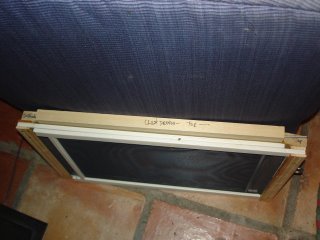
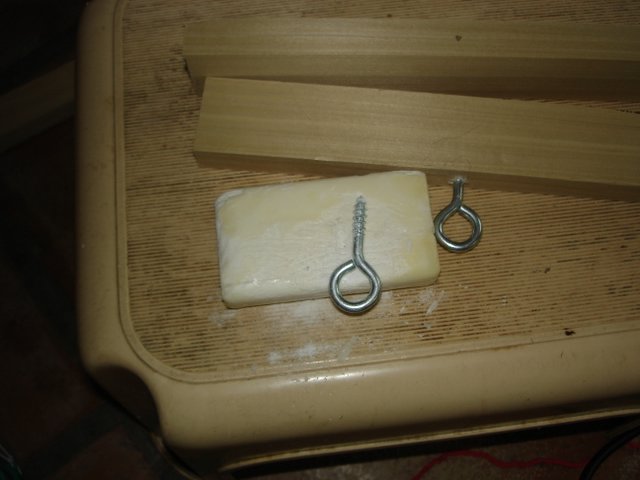
I also made a
cleat (not sure if I'm using this term correctly?) for each hive so that I could completely close them up if need be. In
Jon McFadden's plan for building a robber screen from scratch, he used a router to make a cleat for the top entrance.....
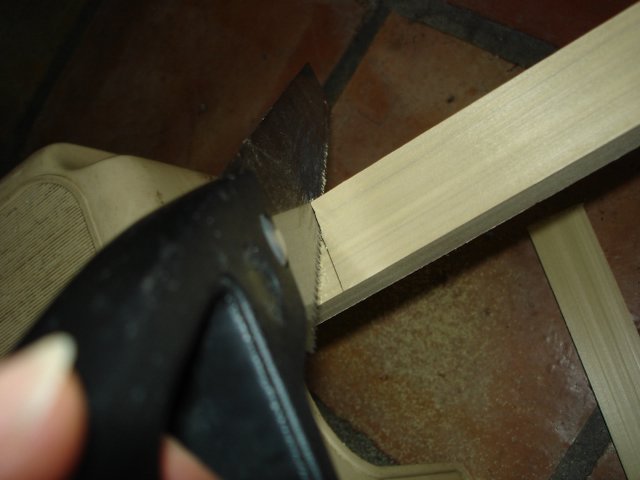
OK, I don't know what a router is, much less what it does. But I did want to be able to close the hive up, so I cut a piece of the wood I used for the side shim the length of the opening at the top of the robber screen. Then I nailed a nail into each end to give the wood a way to hold it up in the opening. So here it is in the picture - although I won't use the cleat unless I truly need to close the hive.

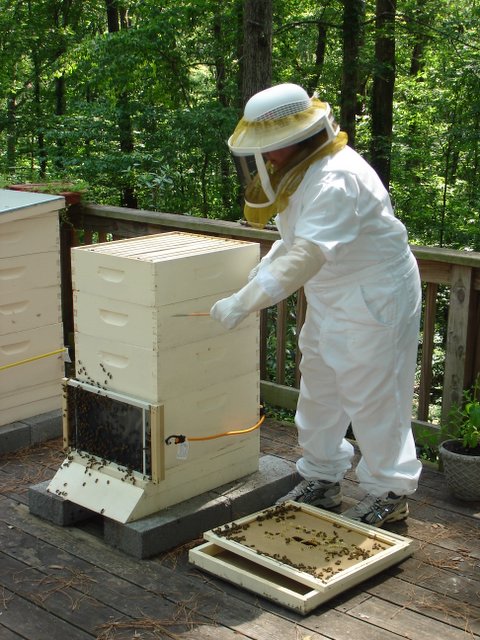
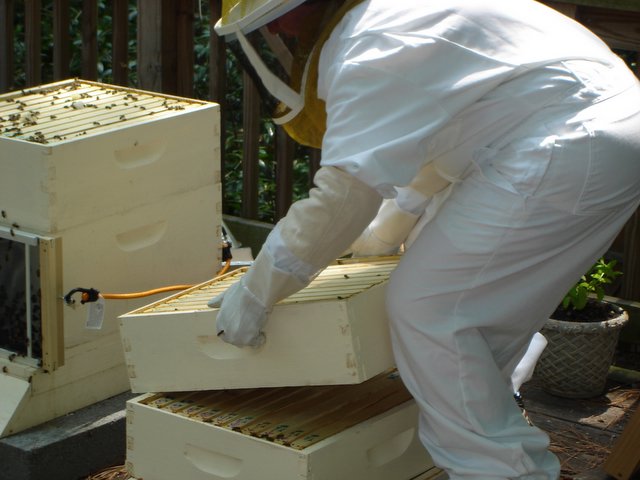
 I'm using the hive tool to separate the medium from the brood chamber deep hive body on the bottom. I pried the two sections apart as gently as I could.
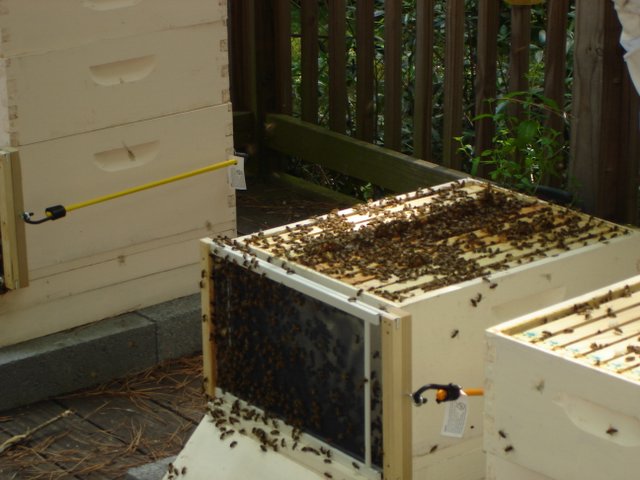 Now we're down to the bottom level. This is the brood chamber - LOOK AT THE BEES! There are bees by the thousands in this hive.
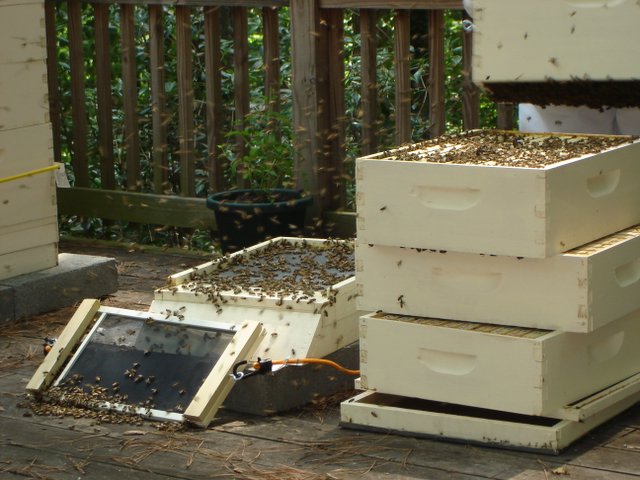 Here I've lifted the hive body off of the screened bottom board - look at the bees hanging on the bottom of the hive body in the upper right corner of the picture. I loosened the bungee cords to the robber screen, but it fell off with a crash and bees went everywhere. Look at all of them flying above the SBB.