We are all being taught that old wax is a source of disease and is not good for the bees to reuse year after year. I believe the current thought is that all brood comb should be changed out every three years. In addition, when you lose a hive and the small hive beetles take over (two hives for me this year), the slime on the comb makes it unusable and unattractive to bees.
Consequently I have a lot of old comb that needs to be addressed. I could throw it out but I want to respect the work that the bees put into it. In addition, if I get wax, there's lots I like to do with it in making lotion and lip balm. So I want to try to recover usable wax from these old combs.
I don't have the huge turkey fryer that Cindy Bee uses, nor do I have a propane tank, but I do have this stew pot that everyone hates - it's not heavy enough to do the kind of job I want it to do in my kitchen, making gumbo or stewing a chicken, so it's now been relegated to the rendering pot. I have a single burner, designed for apartment dwellers, so I plugged it in in my carport, filled the stew pot with water and began heating.

Lesson for next time: Put really hot water in the pot to speed up the heating time.
Cindy says to get a 100% cotton flannel old pillow case from a flea market or thrift store. I didn't have that but did have some pale yellow 100% cotton flannel material that I bought at Hancock's. So I stitched up the sides and made a pillow case of sorts. I didn't have time to age the pillow case, however!
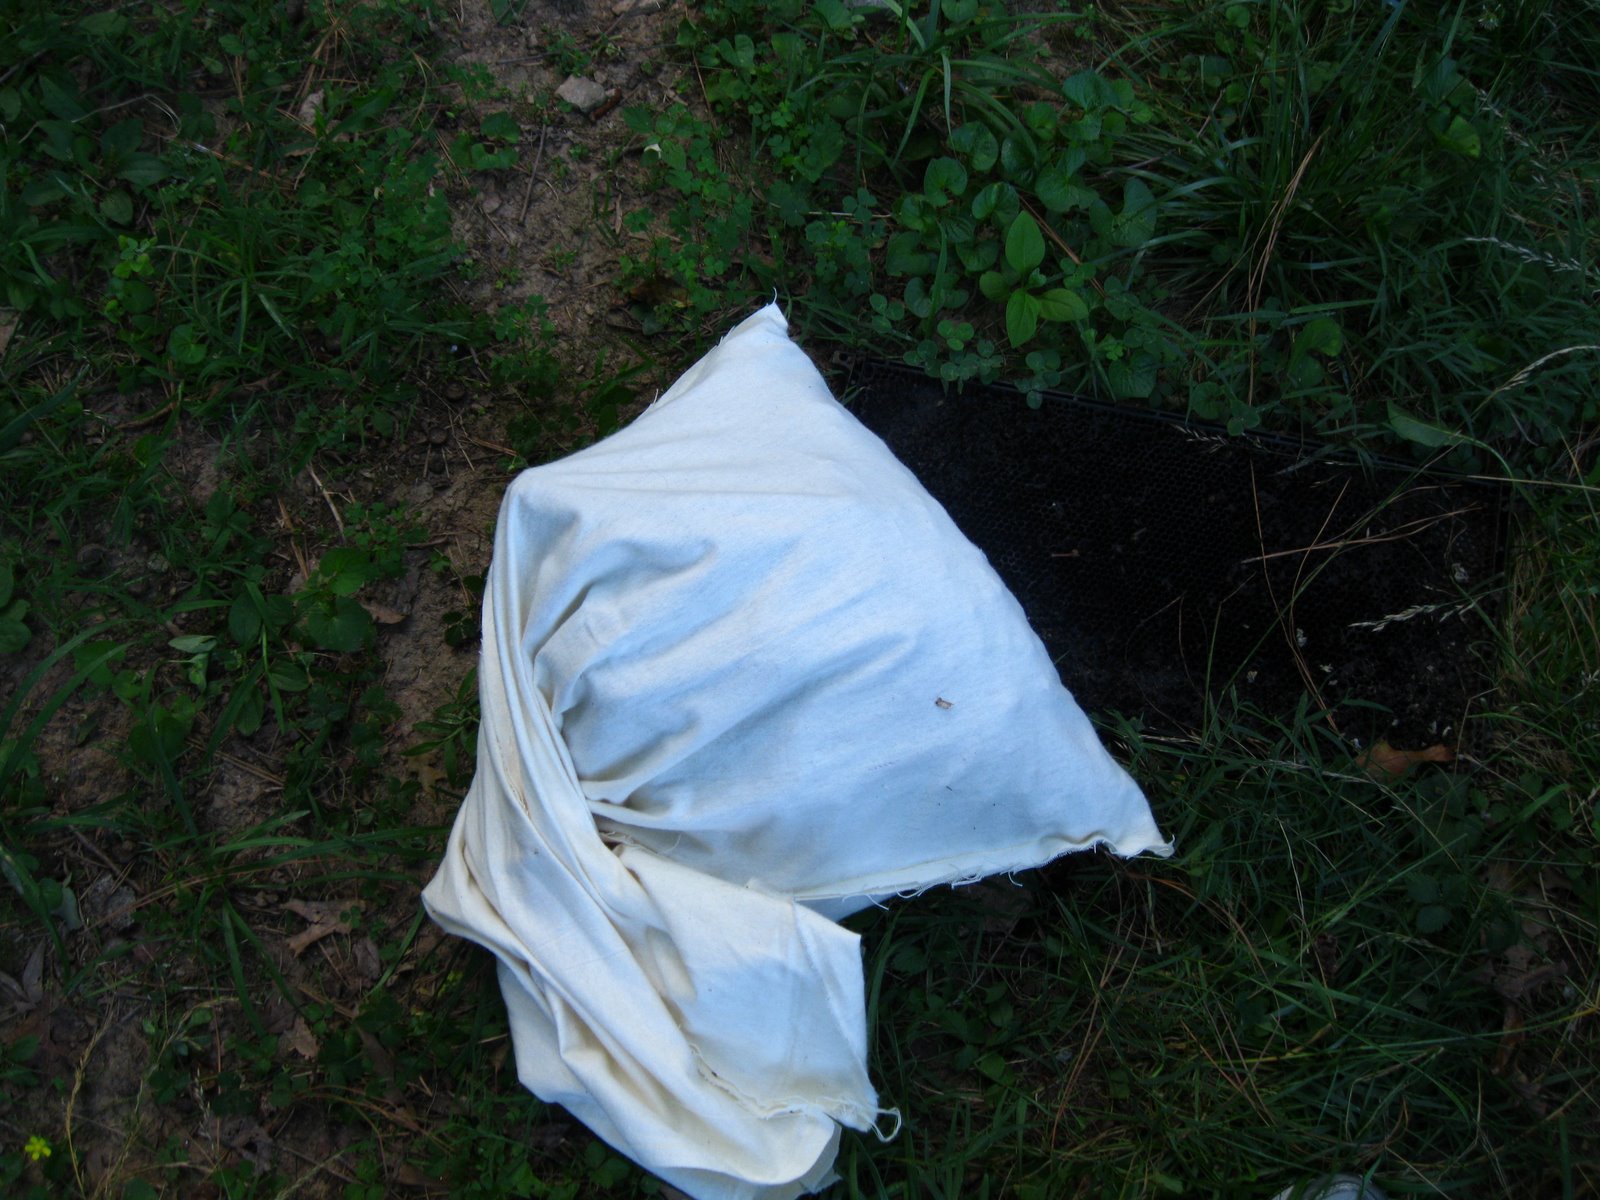
I filled the pillow case with old brood comb from the dead hive Julia and I rescued earlier in the season. The comb was wired and as I pulled out the wires, I could see the layers of cocoon casings that now lined the honey comb cells. You can see it too, if you click on the picture below to enlarge it.

When the bag was full, it included the blackened brood comb from a 10 frame deep super, slimed comb from a 10 frame shallow super, and a half bucket of old comb from the rescued hives.

I put the filled pillow case into the hot/heating water.

As the comb melted down, I twisted the pillow case to squeeze out the liquid wax, etc. as it melted. Combs that have been slimed by the small hive beetle smell a little like Orange Crush and as this melted, that is the smell that emanated from the mixture. The water turned dark, dark brown.

As the comb melted the slum gum inside the pillow case got smaller and smaller.

I didn't have a colander that would fit the stew pot, so I bought this grill skillet with large holes, just perfect for draining the liquid out of the pillow case.

However, the pillow case filled with slum gum did drip a little out of the pot when I put it in the grill skillet. Later I scraped the hardened wax up off of the concrete carport floor and was grateful that it wasn't my kitchen floor!

I left it to drain all night. The next morning the non-stick skillet was pretty clean and wax was floating on the surface of the nasty, nasty water.

Isn't the water gross? And it still smelled like Orange Crush.

Here's the end product - a cylinder of wax about 1/2 inch thick. This still has a way to go before being in a state in which I can use it for lip balm, etc. I plan to break up this cylinder and melt it in the solar wax melter where it will get filtered yet again and bleached by the sun.


wow, this is so cool. thanks for the pictures and some ideas on how to do this (small scale, in a garage) instead of the huge productions i normally see!
ReplyDeletePlease keep in mind that molten bees wax is highly flamable!! Take care ....but have fun ;-)
ReplyDeleteThanks for the simple way of rendering old bees wax, along with self explanitary photo's
ReplyDeleteMany, many thanks from Holland!
Yes, thank you indeed!
ReplyDeleteI also have tons of the stuff on hand and also looking to respect the amazing effort that went to create it. Kudos.
Thank you.
ReplyDeleteMy husband just brought me a ton of old combs and I am trying to figure out what to do next.
I just rendered some wax from old comb using a thrift store vegetable steamer. Worked great, no mess. It was Black&Decker model (plastic, two tier). I used a leg off a pair of dollar store panty hose to filter it. Stretch the sock over a ring of some sort to open the end. Use large pvc pipe, old Chinese bamboo steamer with bottom knocked out, 6" concrete former tube, old crosstitch frame, anything like that. Stretch the sock over all the way like it's a drum, then punch down the middle a bit to make a pocket. Fill up with chunks of comb, pushing down as you go to fill the sock. Make this sausage small enough to fit in the smallest container (no holes, used for rice) in the steamer. Remove the sausage from the frame, twist the end shut, then double the remainder back over the sausage to make two layers over it. This will be your filter.
ReplyDeleteFill the steamer base and turn it on. Assemble the lower condensed-water tray, one strainer basket and the rice container. Put your sausage in the rice container raised up off the bottom somehow. I used sime little stainless condinment cups. Next time I will drill holes in the container and make a rack of skewers for the sausage to rest on.
Steam for an hour or two and the clean yellow wax will drip into the rice container plus a small amount of condensed steam-water.
Remove and discard the sausage.
Some wax will be lost due to absorption into the sock and comb materials. I think the only way to get all of it is to press under hot water. Messy.
Thanks this was very helpful :) A few others said "old" comb was a waste but I figured they worked so hard to make it I should find a way to use it!
ReplyDelete